Branding
Last updated: November 3, 2026
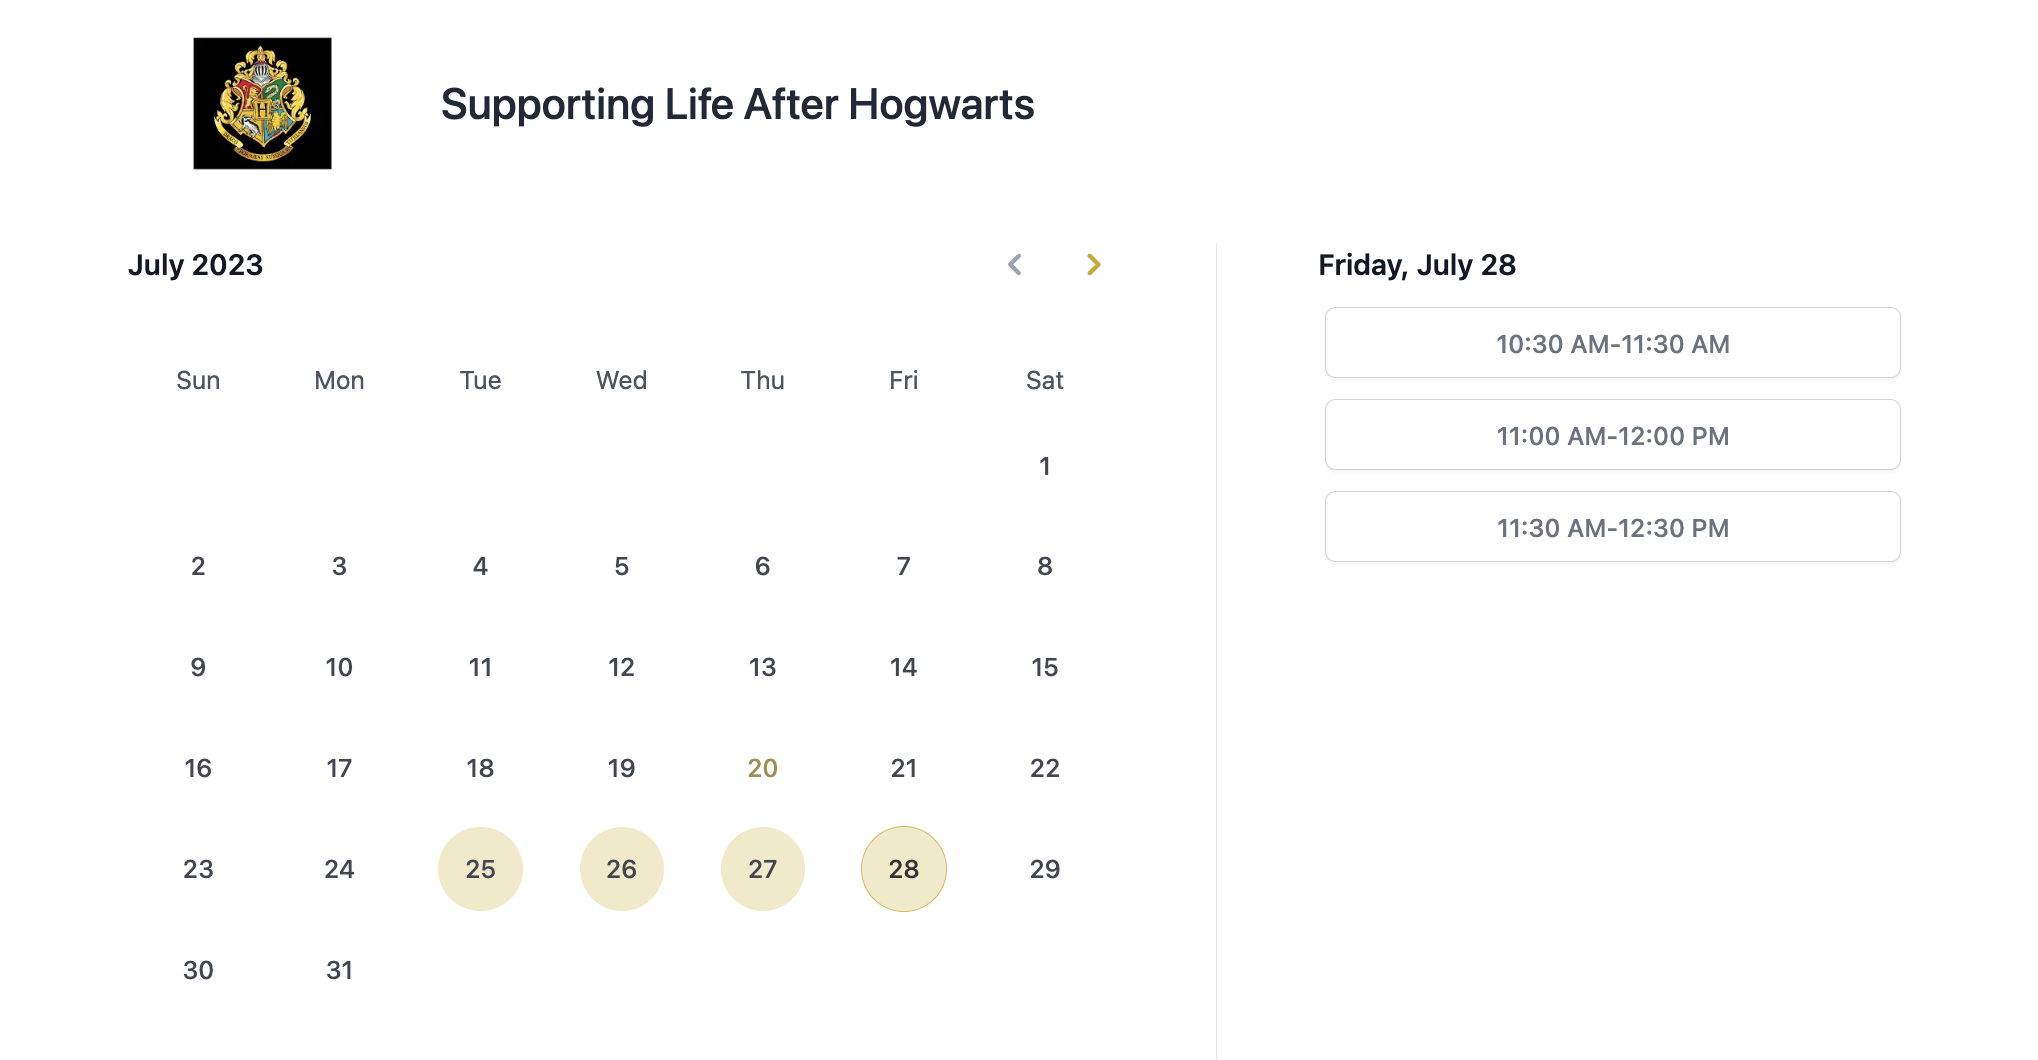
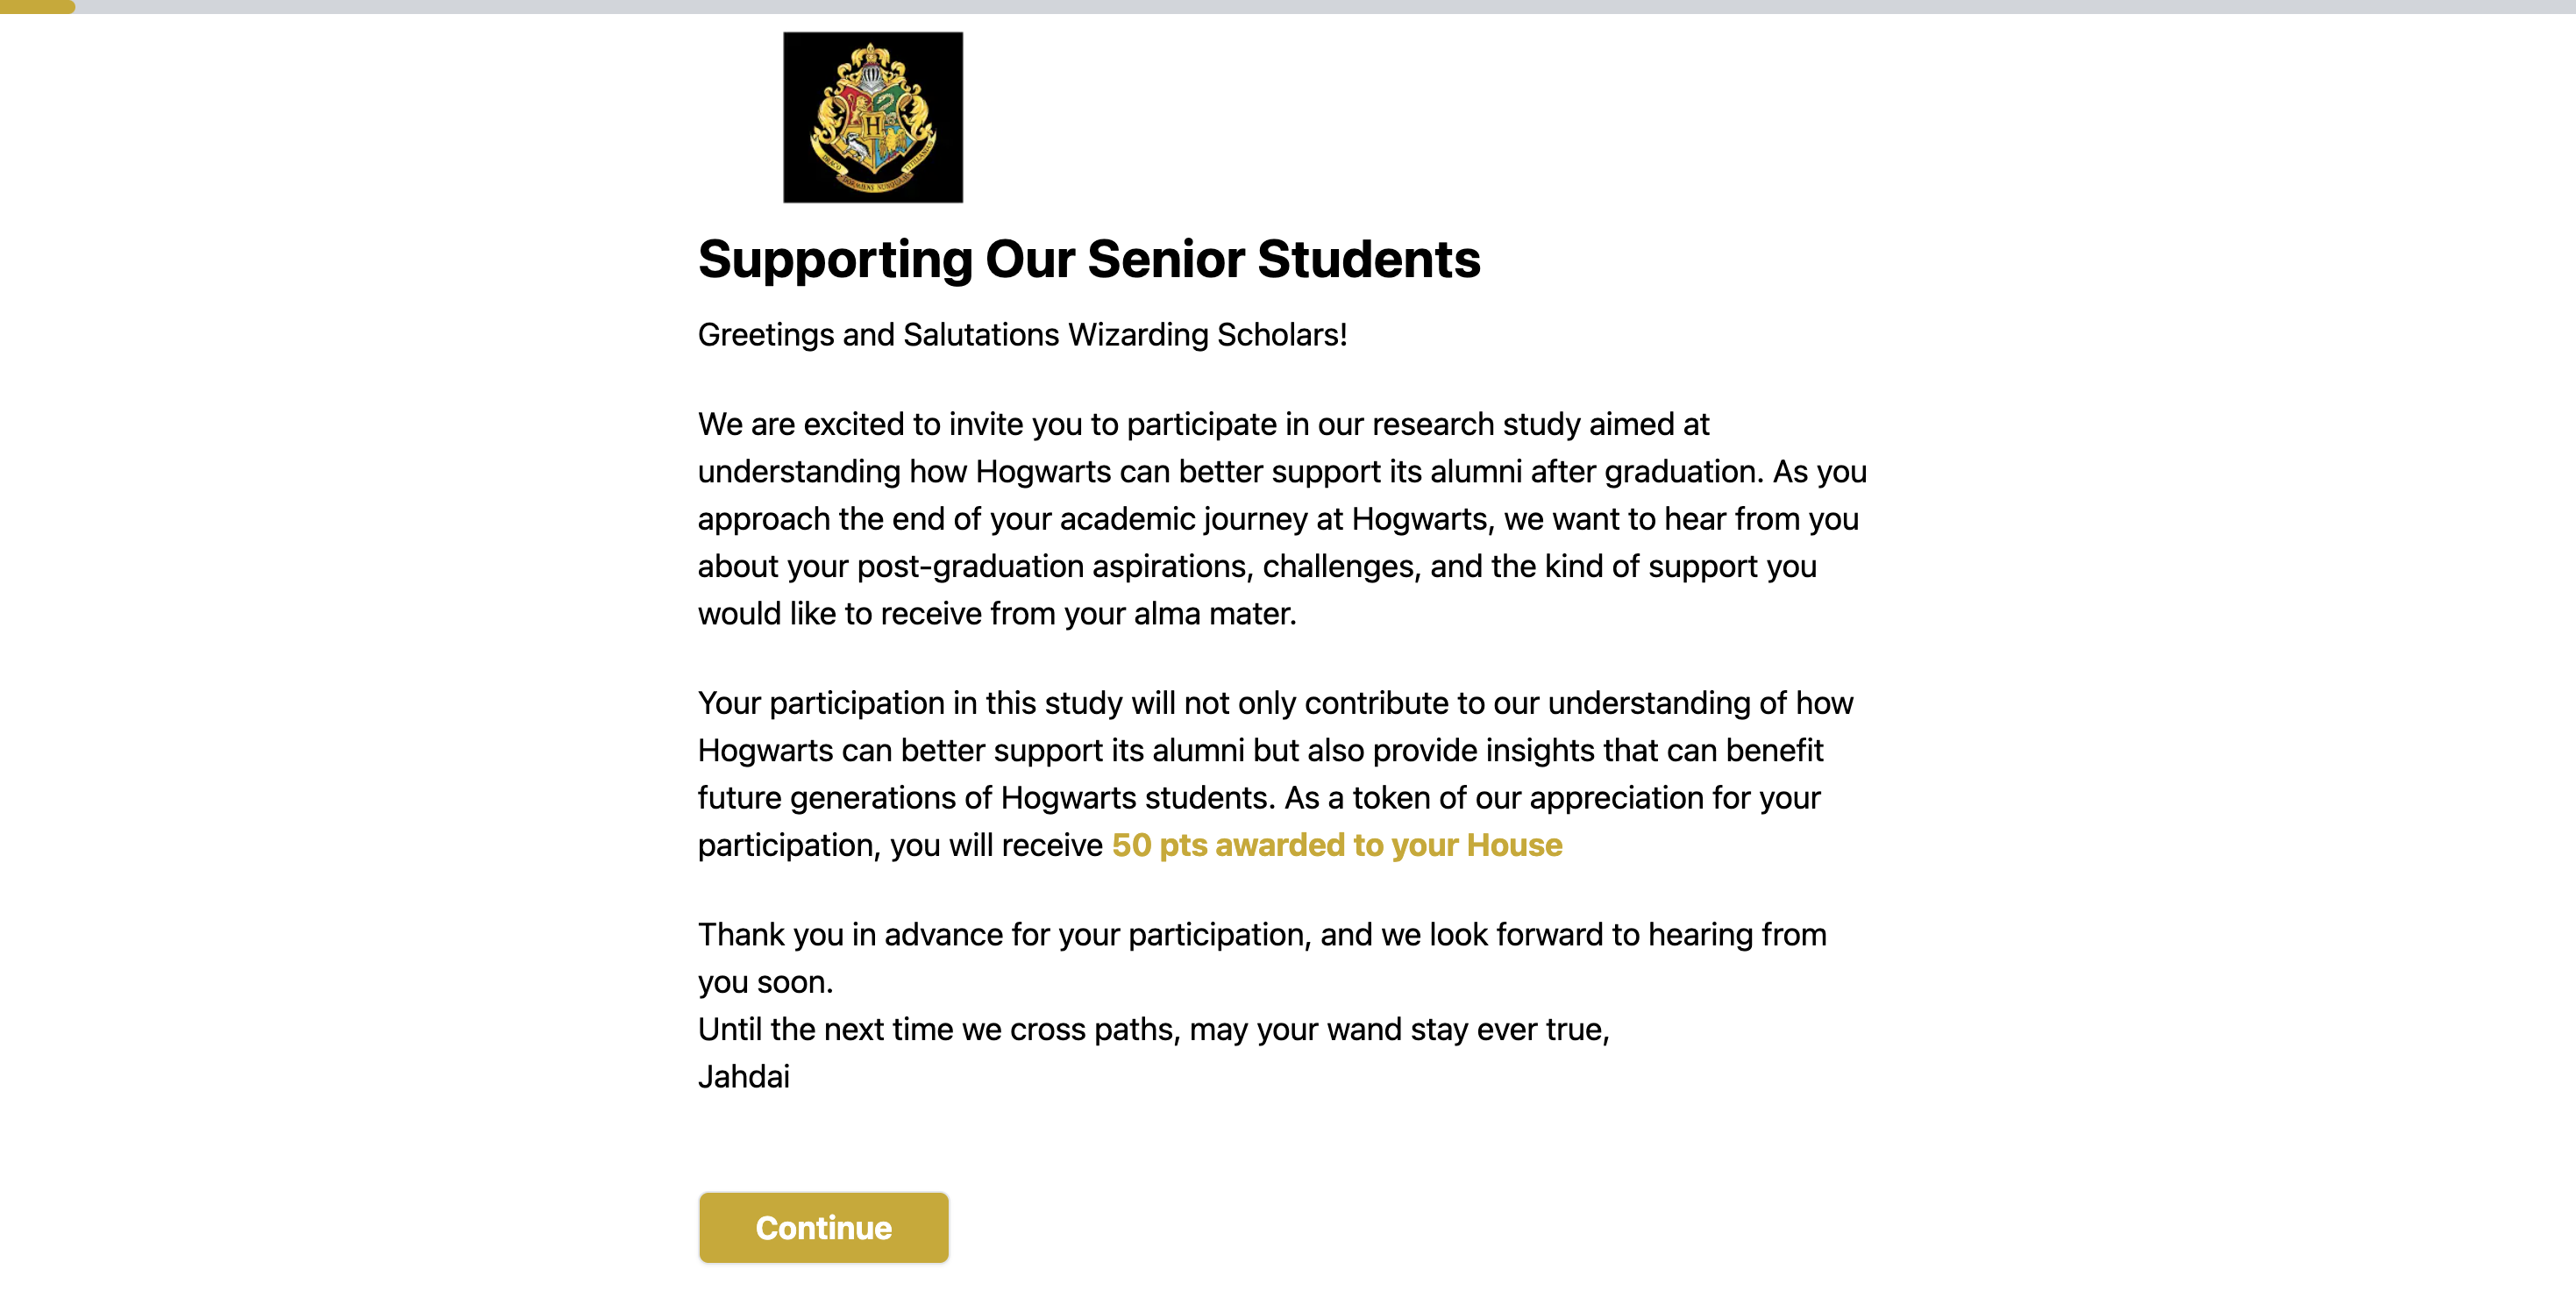
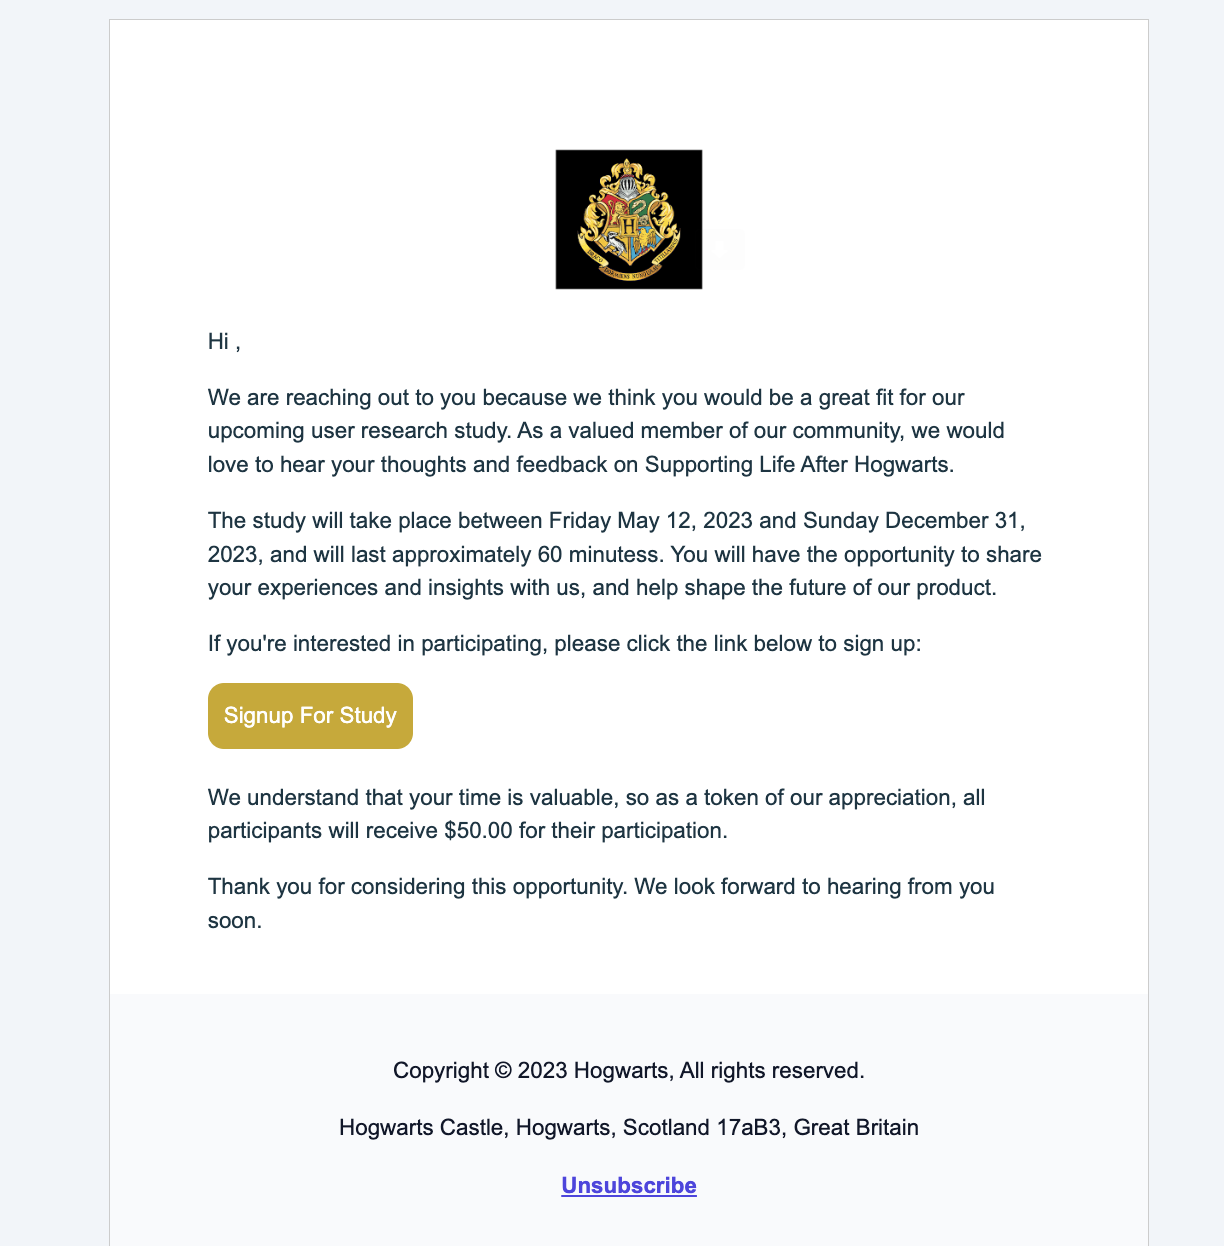
Add your company's logo, colors, and address to studies and emails with brands. Your brand appears on welcome pages, schedulers, signup forms, consent forms, the incentive claim page, the unsubscribe page, and branded emails. If you have more than one brand, choose one for each study or signup form. Emails use that study or form's brand when their layout is set to Branded (see Email templates).
To leave out company branding, for example in anonymous research or external panel studies, select No Brand in a study's welcome page settings or on a signup form. Study templates and duplicated studies keep the No Brand setting, so you can set it up ahead of time.
Add Branding
Creating and managing brands requires the Create and modify brands permission, included in the Admin and Ops Manager default roles. Researchers can view and use brands but can't create or edit them.
From the navigation sidebar, select Templates, then select the Brands tab.
Select + New in the top right.
Enter a Brand Name. This is for internal use only.
Choose the sender address for this brand. When you apply the brand to a study, its interview confirmation, reminder, cancellation, reschedule request, and standby emails send from this address. Sender addresses come from your email domains.
Select Upload Logo and choose your logo. Use a PNG or JPG no larger than 300 x 150 pixels.
Choose your Primary Color. We suggest entering the hex code. It's used in branded emails and as an accent on participant pages. Participant buttons and form fields use a standard high-contrast color for accessibility.
Enter the Company Name participants will see.
Enter your company's physical address. It appears in the footer of branded emails, which helps you comply with anti-spam laws like CAN-SPAM. Fill in Address, City, State, and Country. Address line 2 and Postal code are optional.
Under Email template, choose Use Rally default or Use custom HTML. Custom HTML wraps every branded email in your own layout. See Custom email templates.
Choose who can use the brand on the Permissions tab (see below).
Select Save changes.
A brand needs a logo, primary color, and complete address before emails can use the Branded layout.
Set brand permissions
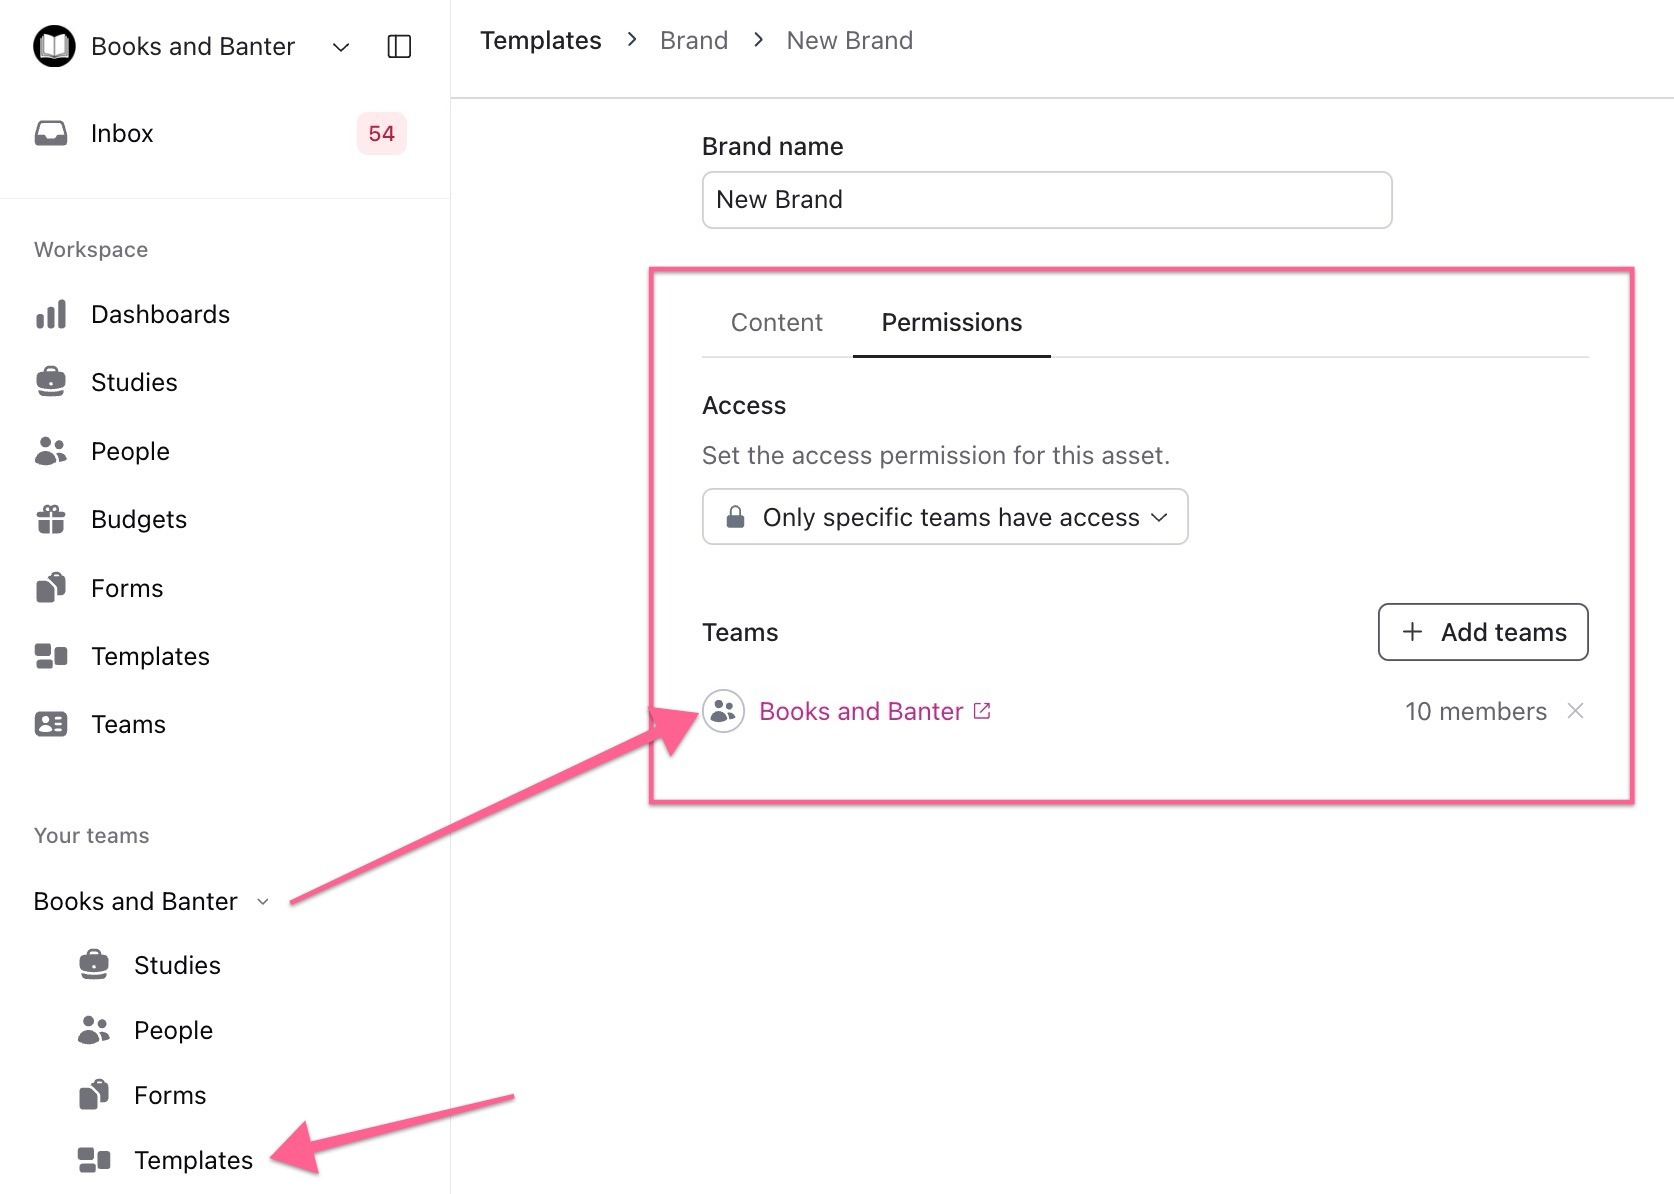
Brands created from the workspace Templates page are available to the entire workspace. Brands created within a team are limited to that team. To change who can use a brand:
Select the Permissions tab.
To limit access, select Only specific teams have access, then + Add teams. Choose one or more teams and select Add Teams. At least one team is required.
To remove a team, select the x next to its name.
Select Save changes.
Manage brands
Find your brands under Templates > Brands.
Edit: Select a brand's name, make your changes, then select Save changes.
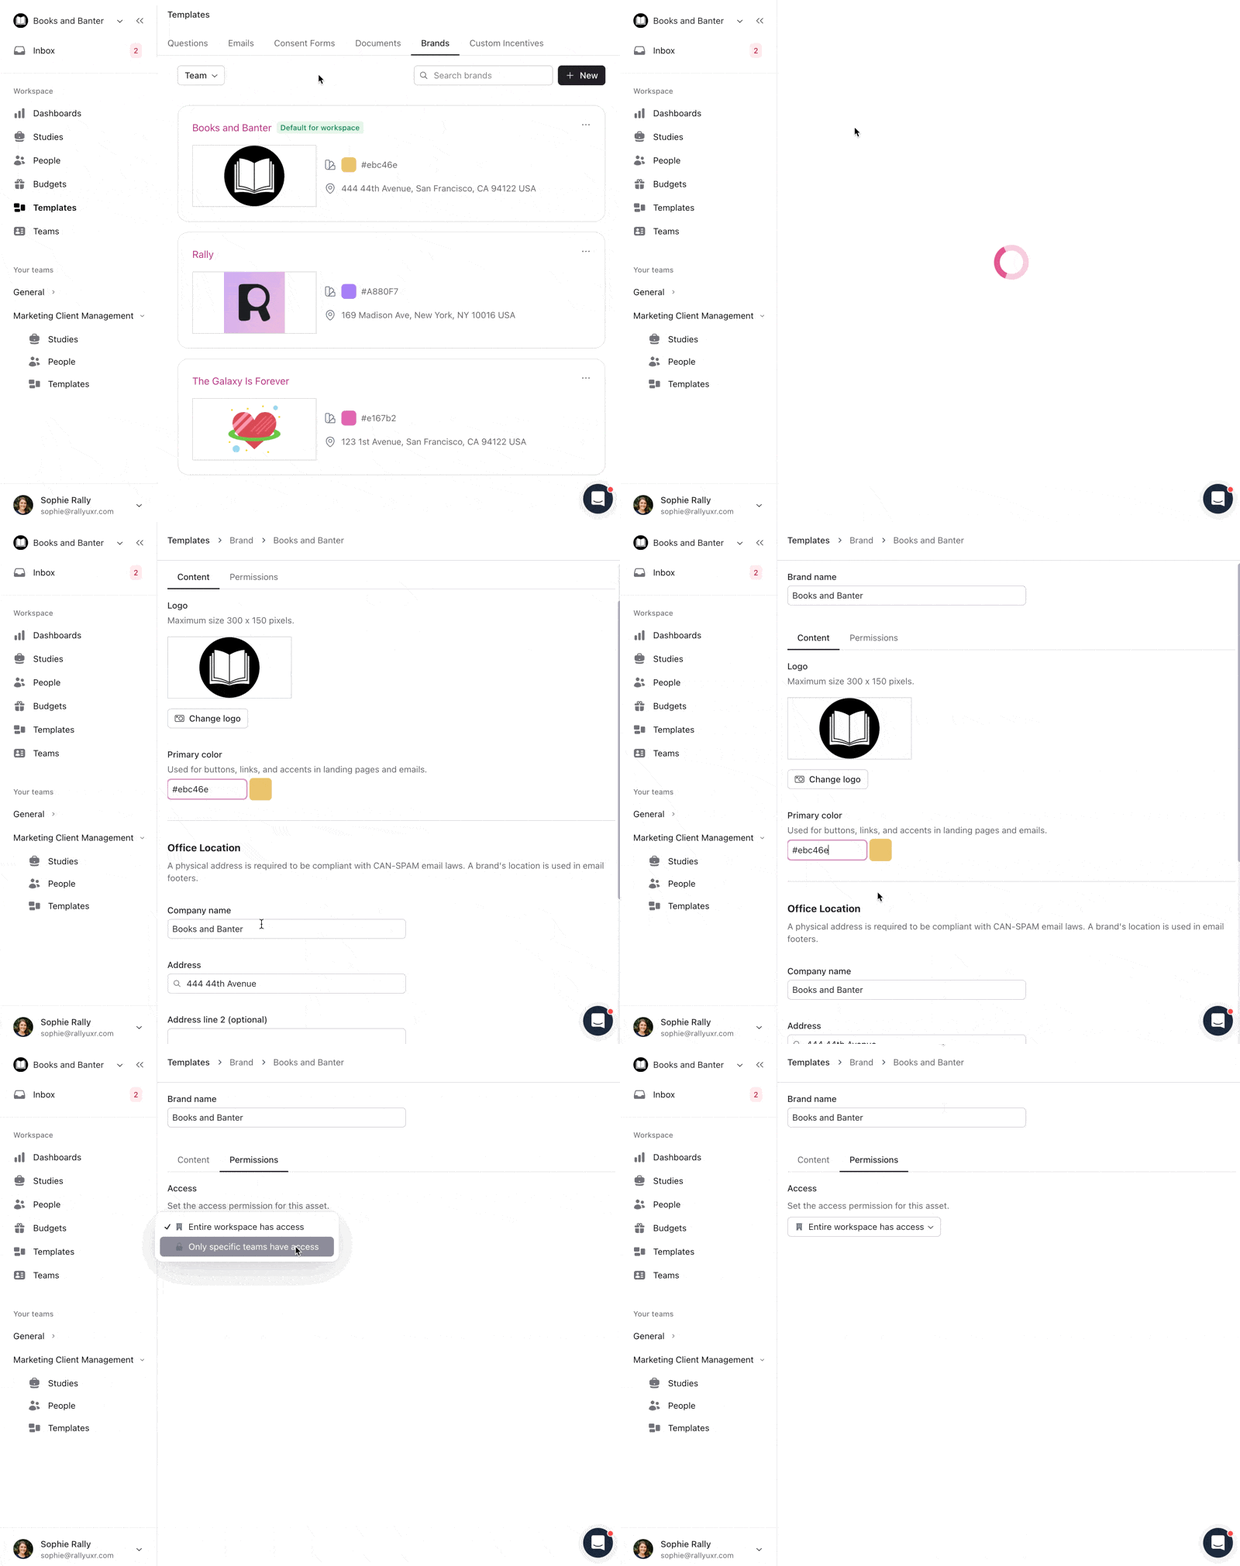
Or select the three dots (...) next to a brand:
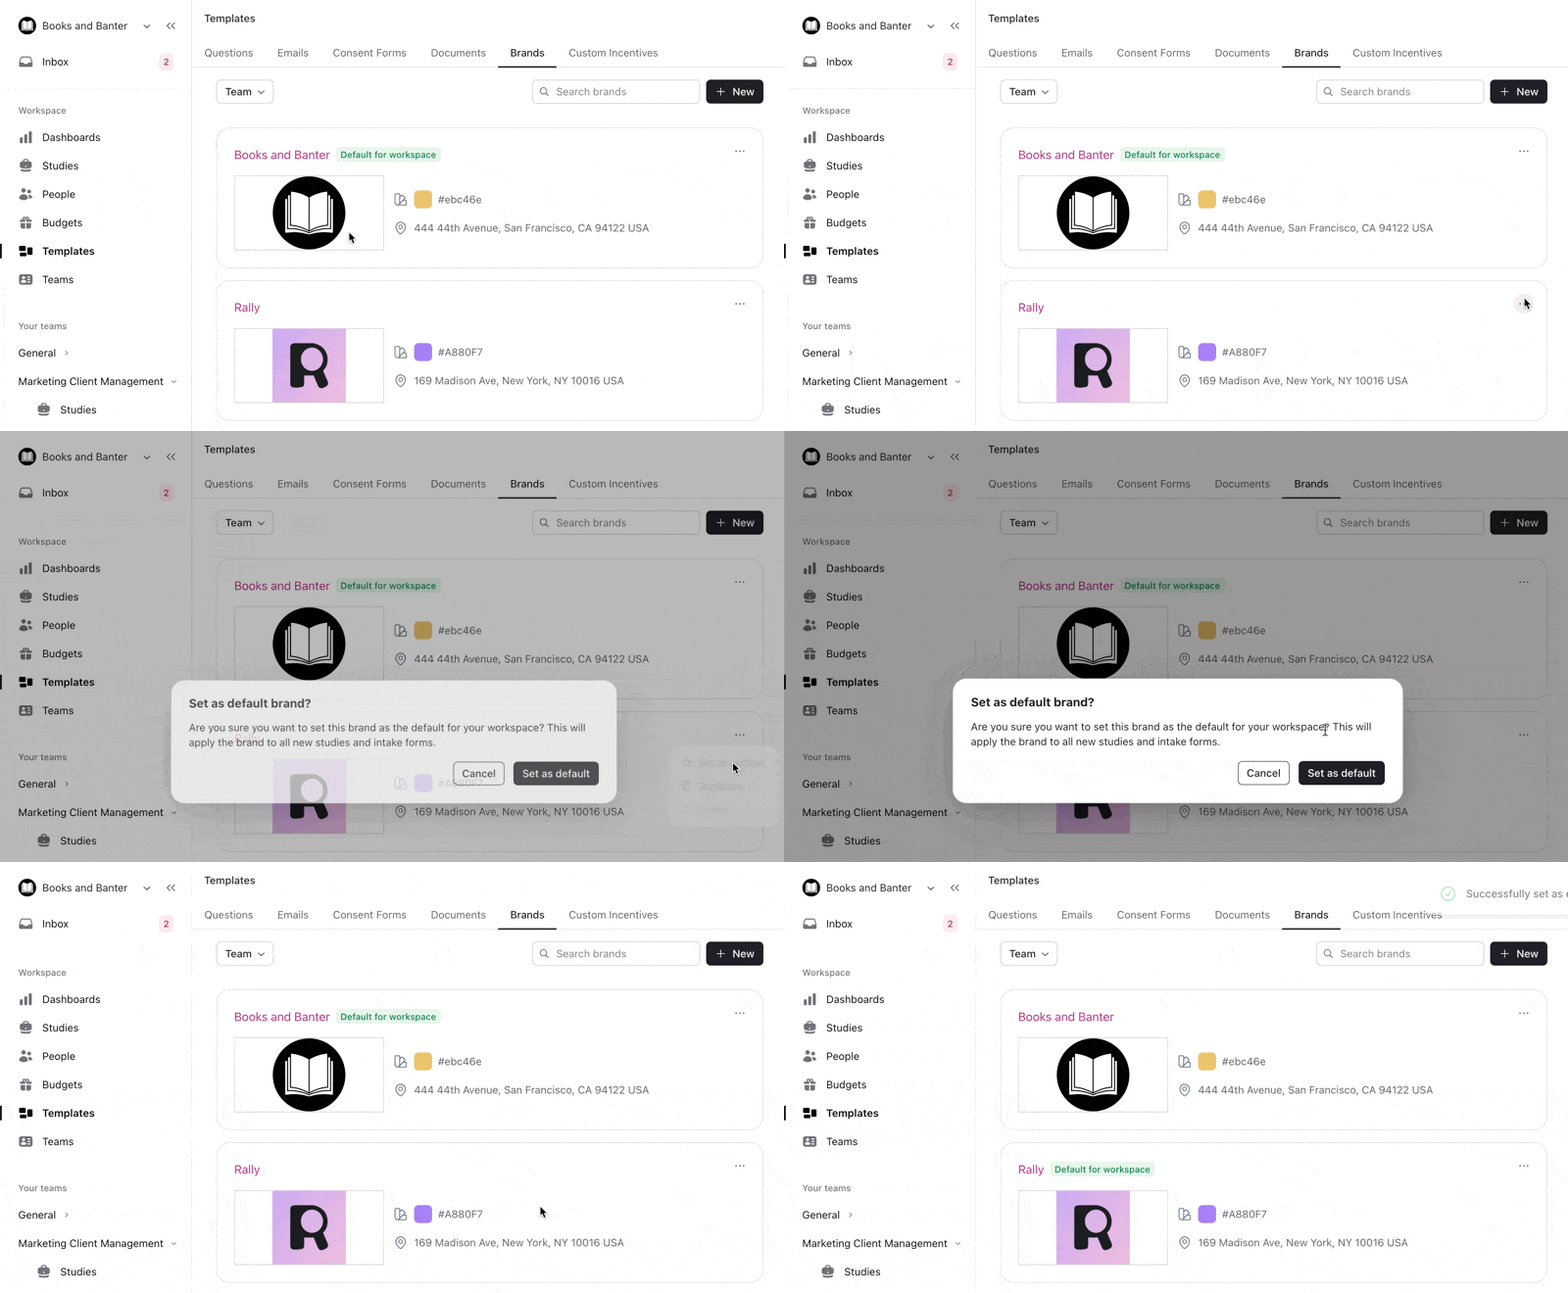
Set as default: Makes this the default brand for new studies and signup forms. A brand shared with the entire workspace becomes the workspace default. A brand limited to specific teams becomes the default for those teams, and team defaults take priority. Confirm in the pop-up.
Duplicate: Makes a copy you can open and edit.
Delete: Removes the brand from your workspace. Confirm in the pop-up. If you delete the default brand, Rally makes another brand with the same access the default.
How branding appears
Welcome Pages
Email Templates
Schedulers