Views
Last updated: October 27, 2026
Save filters and column configurations together as a reusable view that your whole team can access.
What are views?
Views allow you to save a set of filters and column configurations on a population (or on the All People table) as one unit, and share that configuration across your workspace. Any teammate with access to the population can see and use a view you've created.
Permissions
Creating and managing views requires the "Create and modify population views" permission. This includes the Rally default roles Admin, Ops Manager, or Researcher. Creating views on the All People table also requires access to All People.
A view is accessible to anyone who has access to the population it belongs to. Views can't be shared across populations, so a view created in one population won't appear in another.
Using views in your workspace
Create a view
Navigate to People and open a population (or select All People).
Apply the filters and columns you want to save.
Select the Create new view button (to the right of the search bar and to the left of Filters and Columns).
Enter a Name and Description for your team to identify it easily.
Select Create view.
Your view is now available in the Views dropdown for anyone with access to the population.
You can also create a view with only a column configuration and no filters, or with filters that currently return 0 results.

Use AI filtering when building a view
When adding filters to a view, you can use the AI Filter to generate filters automatically based on a natural language description. Any filter results will appear below the AI text input field for you to review and apply.
If AI features are enabled for your workspace, selecting Create new view suggests a name and description based on the applied filters, columns, and your existing views. You can edit these fields as needed. Select Regenerate to get a fresh suggestion. You can also rate a suggestion with a thumbs up or thumbs down.
AI features are on by default for all workspaces. Admins can turn them off at any time in Settings > Advanced.
Apply a view to a population
Navigate to People and open a population.
Select the Views dropdown above the table, then select the view you want to apply.
The table will update to reflect that view's saved filters and column layout.
Edit a view
Open the population and apply the view you want to edit.
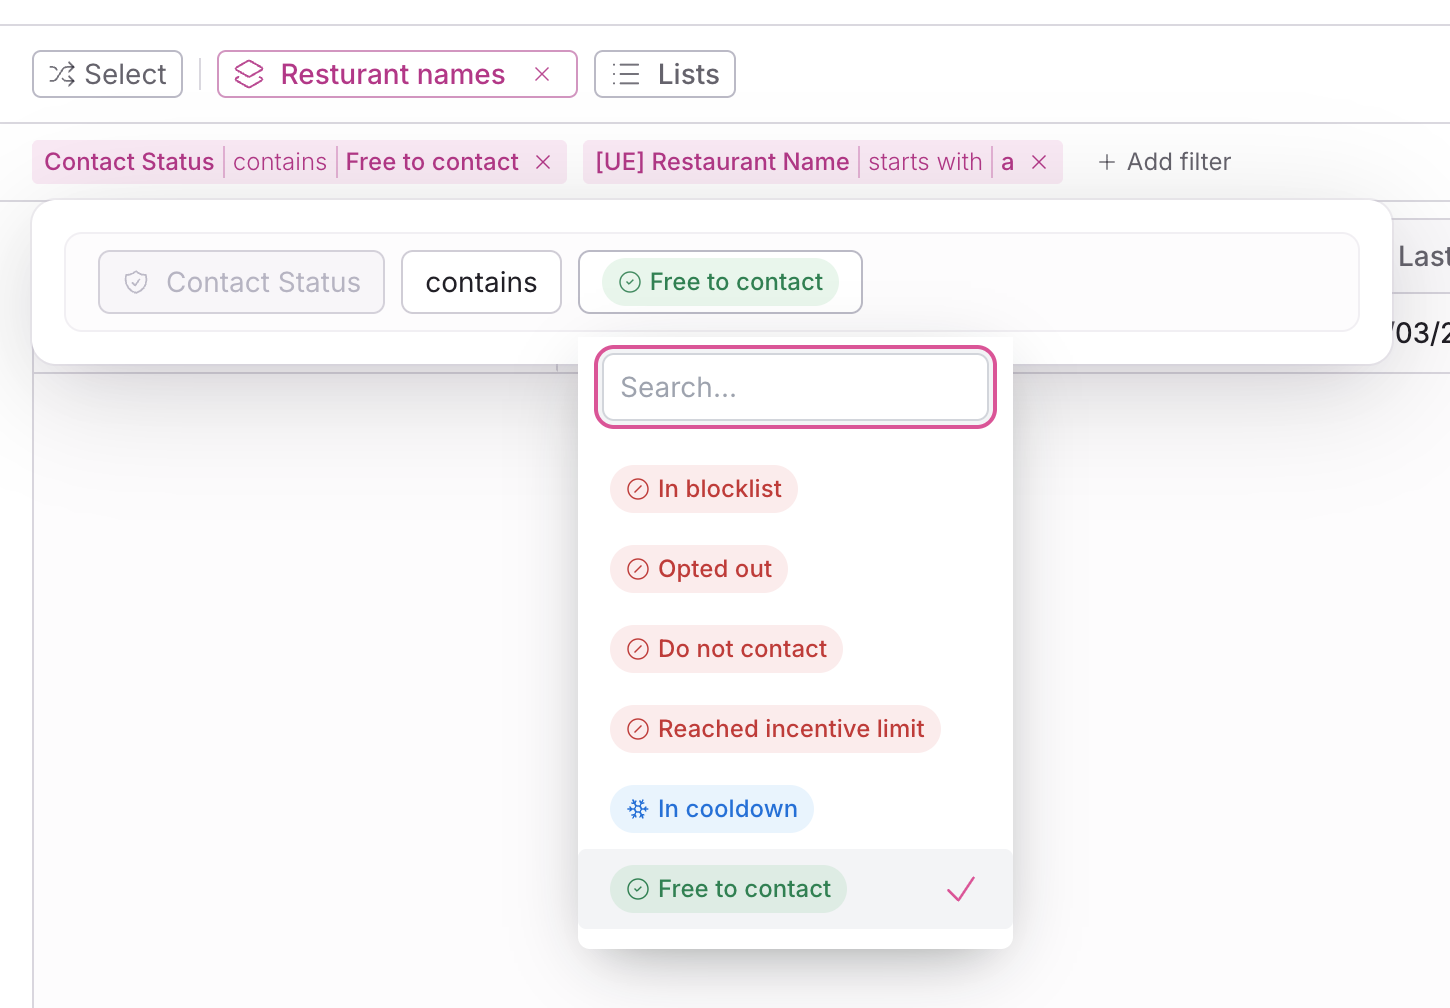
Make changes to the filters or columns. A pink dot on the Filters or Columns button means you have unsaved changes. You can also select a filter chip to change its operator or value directly.
Select Save to view above the table to update the existing view.
If you'd like to keep the original view intact, save your changes as a new view by selecting Create new view.
If you make changes and decide you don't want to keep them, select Reset in the top right of the filter bar to revert to the last saved state.
Switch between views
Use the Views dropdown above the table to move between saved views. When you switch views, the filters and columns fully update to match the selected view, and no filters carry over from the previous view.
If you have unsaved changes when you switch to a different view, those changes will be discarded.
Delete a view
Open the population and select the Views dropdown.
Select the three dots (...) next to the view, then select Delete.
Select Delete again to confirm.
Deleting a view can't be undone. It doesn't remove anyone from the population.
Filter chips
When filters are active on a table, either from a saved view or applied manually, each filter displays as a chip directly on the table surface, below the utility bar.
Select the x on any chip to remove that individual filter without opening the filter menu.
When a saved view is applied, a view chip shows for each filter that is part of the view.
Use views when adding participants to a study
When adding participants to a study from an existing population, you can apply a view within the Add Participants modal to quickly filter down to the right group of people without rebuilding filters from scratch.
Open a study and select Add Participants > + Add from existing.
In the modal, select the population that contains the view, then use the Views dropdown to apply a saved view.
The table will filter to show people matching that view's criteria.
Select the participants you want to add and confirm.
FAQs
Can I create a view that only I can see?
Views are shared with anyone who has access to the population. There is not currently an option to create a private view visible only to you.
Do views work in studies?
Views are currently available in populations. When adding participants to a study, you can apply a population view in the Add Participants modal to filter people.
What happens if I delete a property that's used in a view's filters?
The view will still exist, but the filter referencing the deleted property may no longer return expected results. We recommend reviewing your views if you remove properties from your workspace.
Is there a limit to how many views I can create?
There is no hard limit on the number of views per population. Keep in mind that a large number of views will appear in the dropdown, so clear naming and descriptions help keep things organized for your team.