Scheduled Email Sending
Last updated: April 7, 2026
Schedule your recruitment emails to be sent in the future. If you have participants in other time zones, or frequently prepare studies at off hours, scheduled email sending makes it easier to put your recruitment on autopilot.
This feature enables you to schedule bulk emails in advance to be sent out at specific times, and reschedule, pause, or cancel scheduled emails before the scheduled send time if needed. You can schedule emails for later when you are composing an email to be sent.
Schedule emails
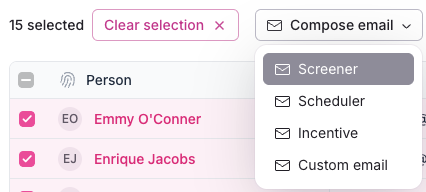
Select participants to include and select the Compose email button to select which email to send or create custom email.
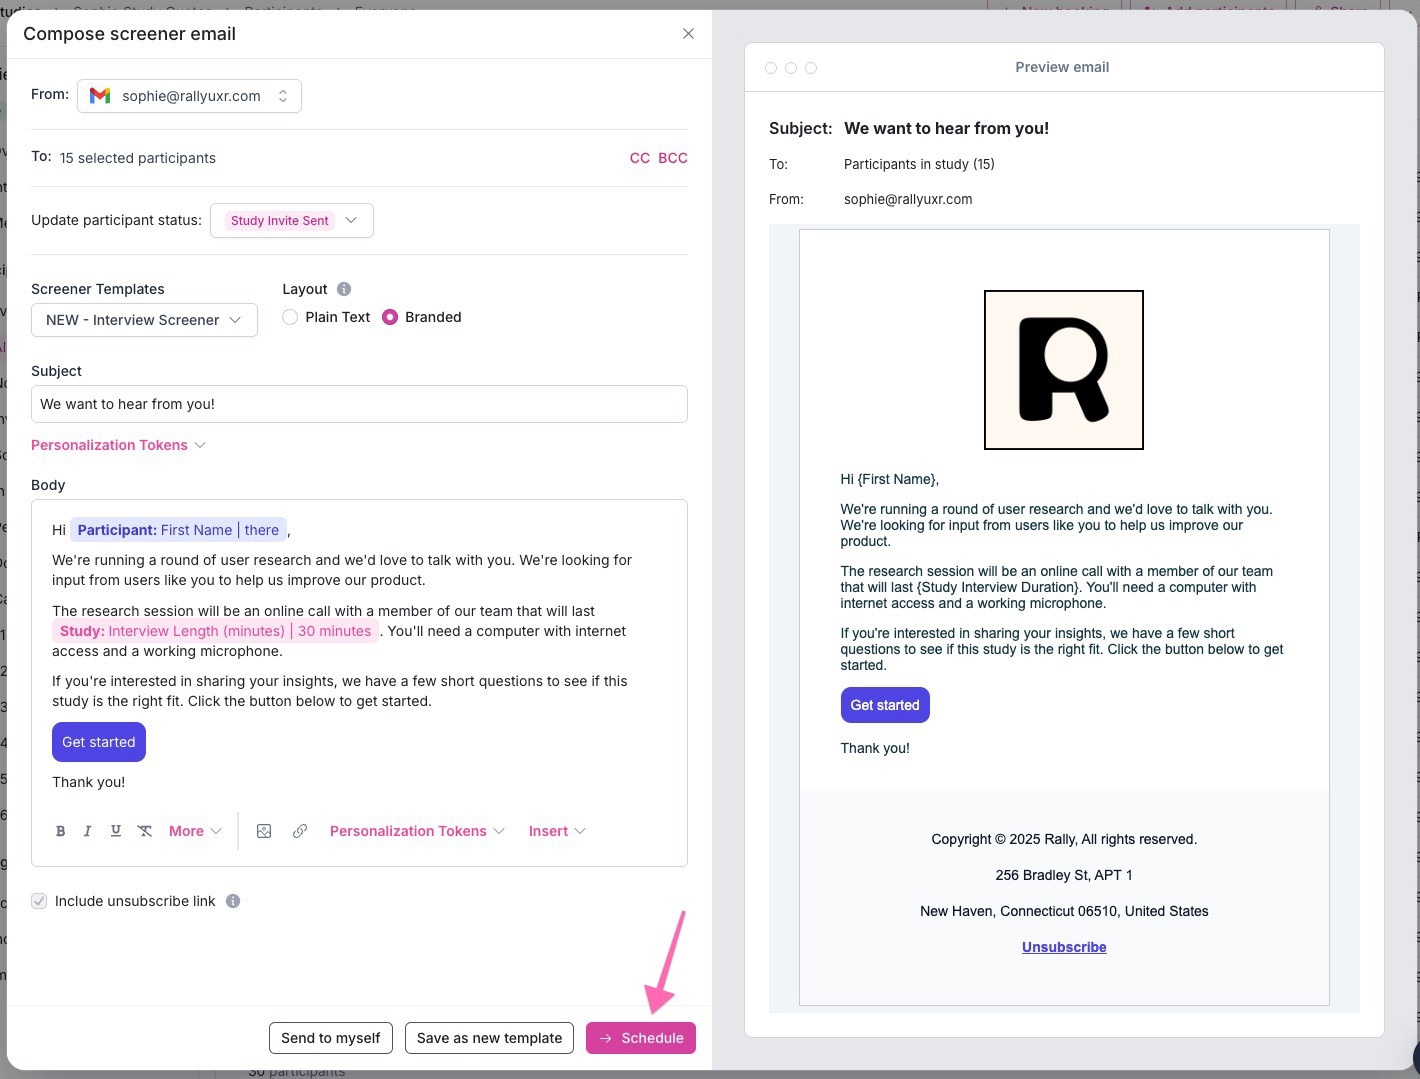
Edit the email subject and body to include all relevant information, links, and personalization tokens.
Select Schedule to continue.
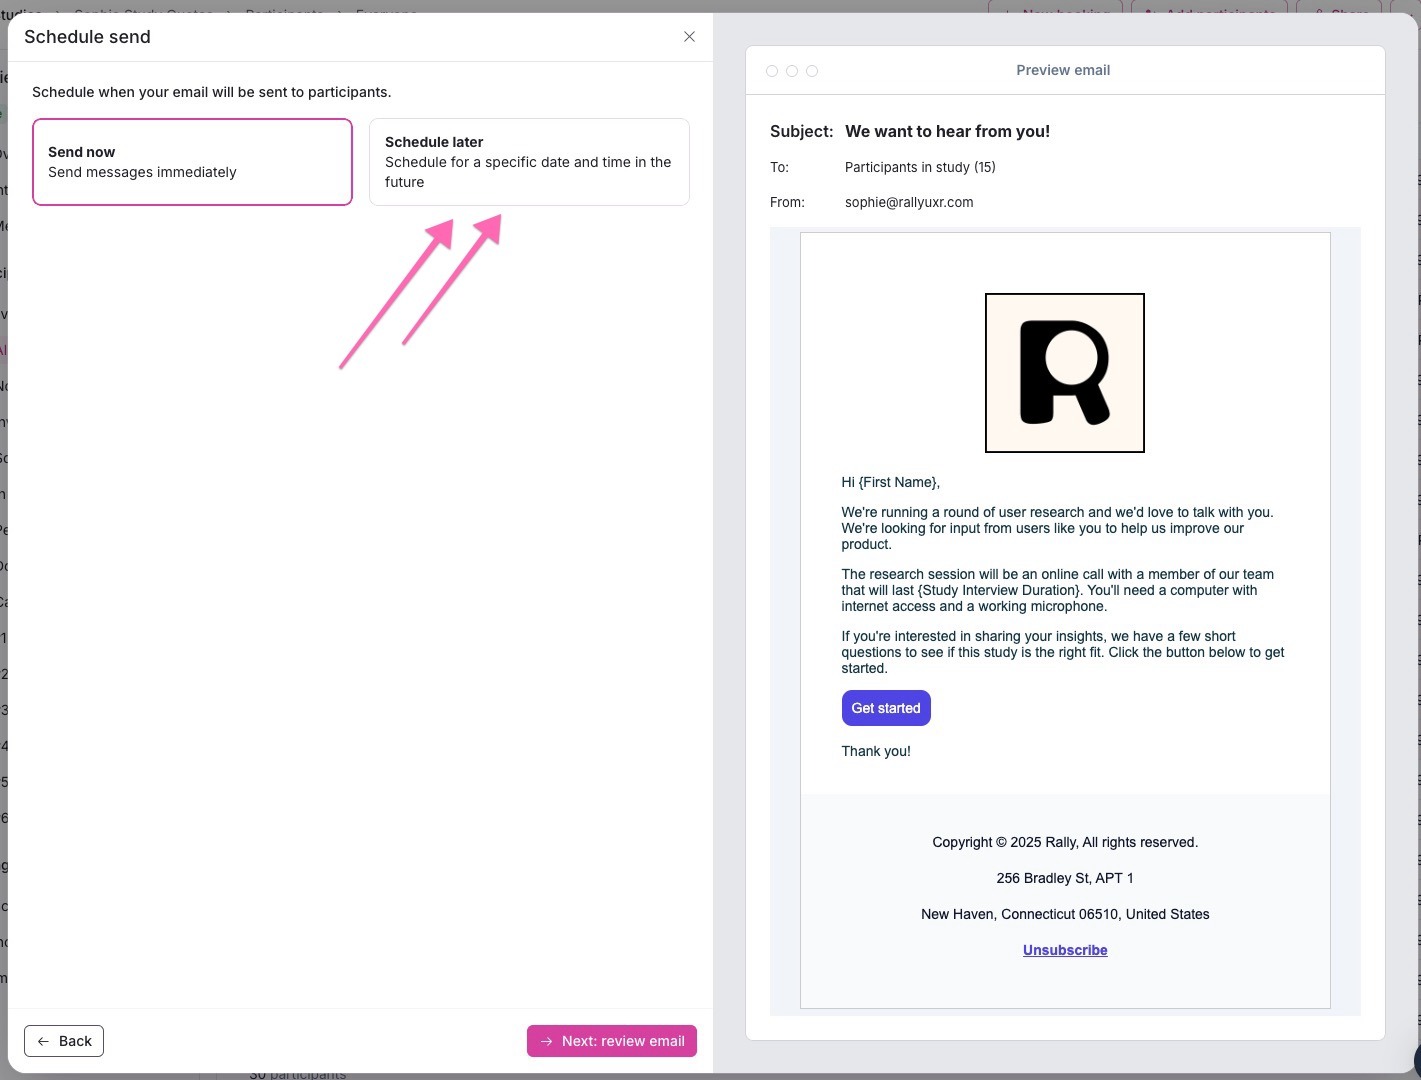
Schedule when your email will be sent to participants.
Send now - Send messages immediately
Schedule later - Schedule for a specific date and time in the future
Autosend by frequency - Automatically send emails in batches at a set interval until your study's target is met
Autosend by date range - Automatically send emails evenly distributed between a start and end date until your study's target is met
Select the Schedule later option.
Enter the date, time, and timezone for when this email will be sent.
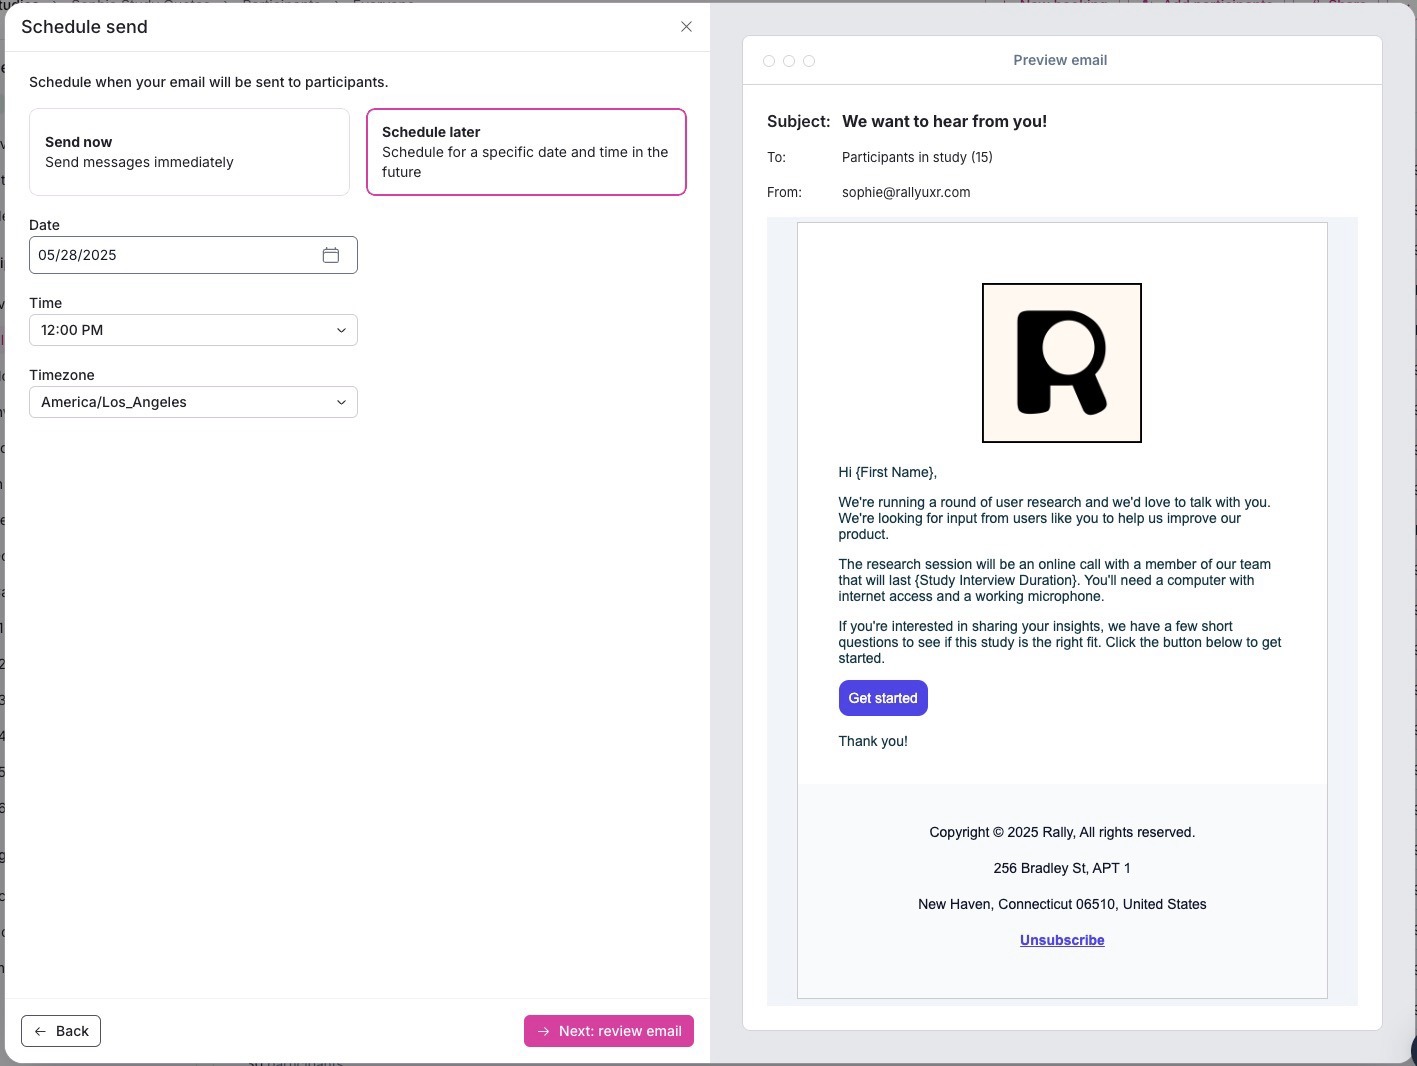
Select Next: review email to continue.
Review the email details to verify everything looks correct.
Select Schedule send to (#) participants to make it official and queue it up!
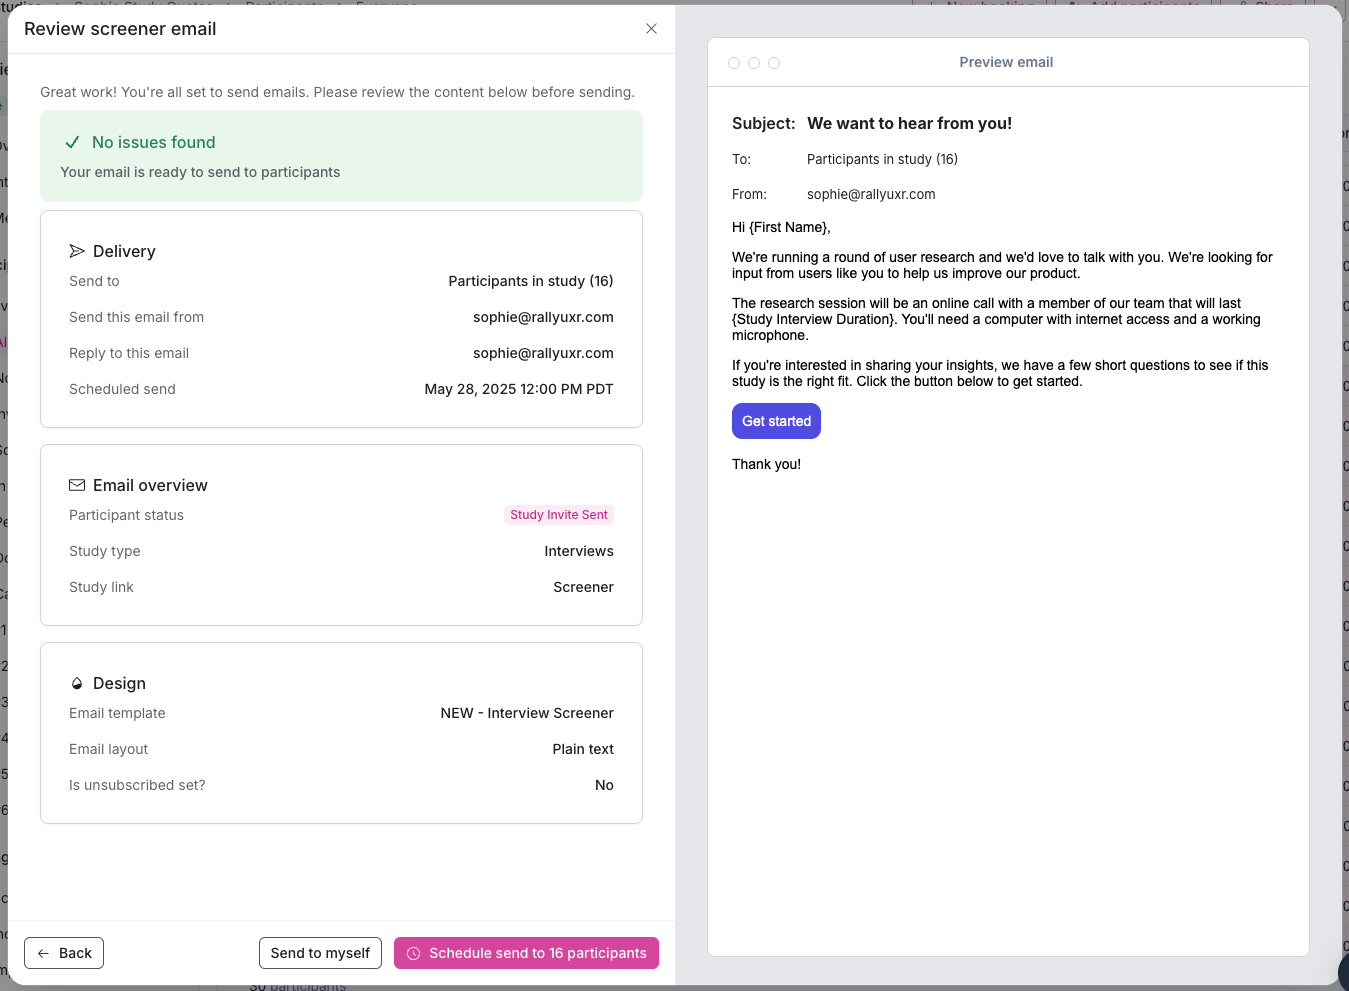
You'll see a confirmation message that your emails were successfully scheduled. You can view their status in the study messages page.

Set up a drip campaign
Use a drip campaign to automatically send recruiting emails in controlled daily batches, stopping once your study's target is met — no manual follow-up required.
For full setup instructions, see Email drip campaigns.
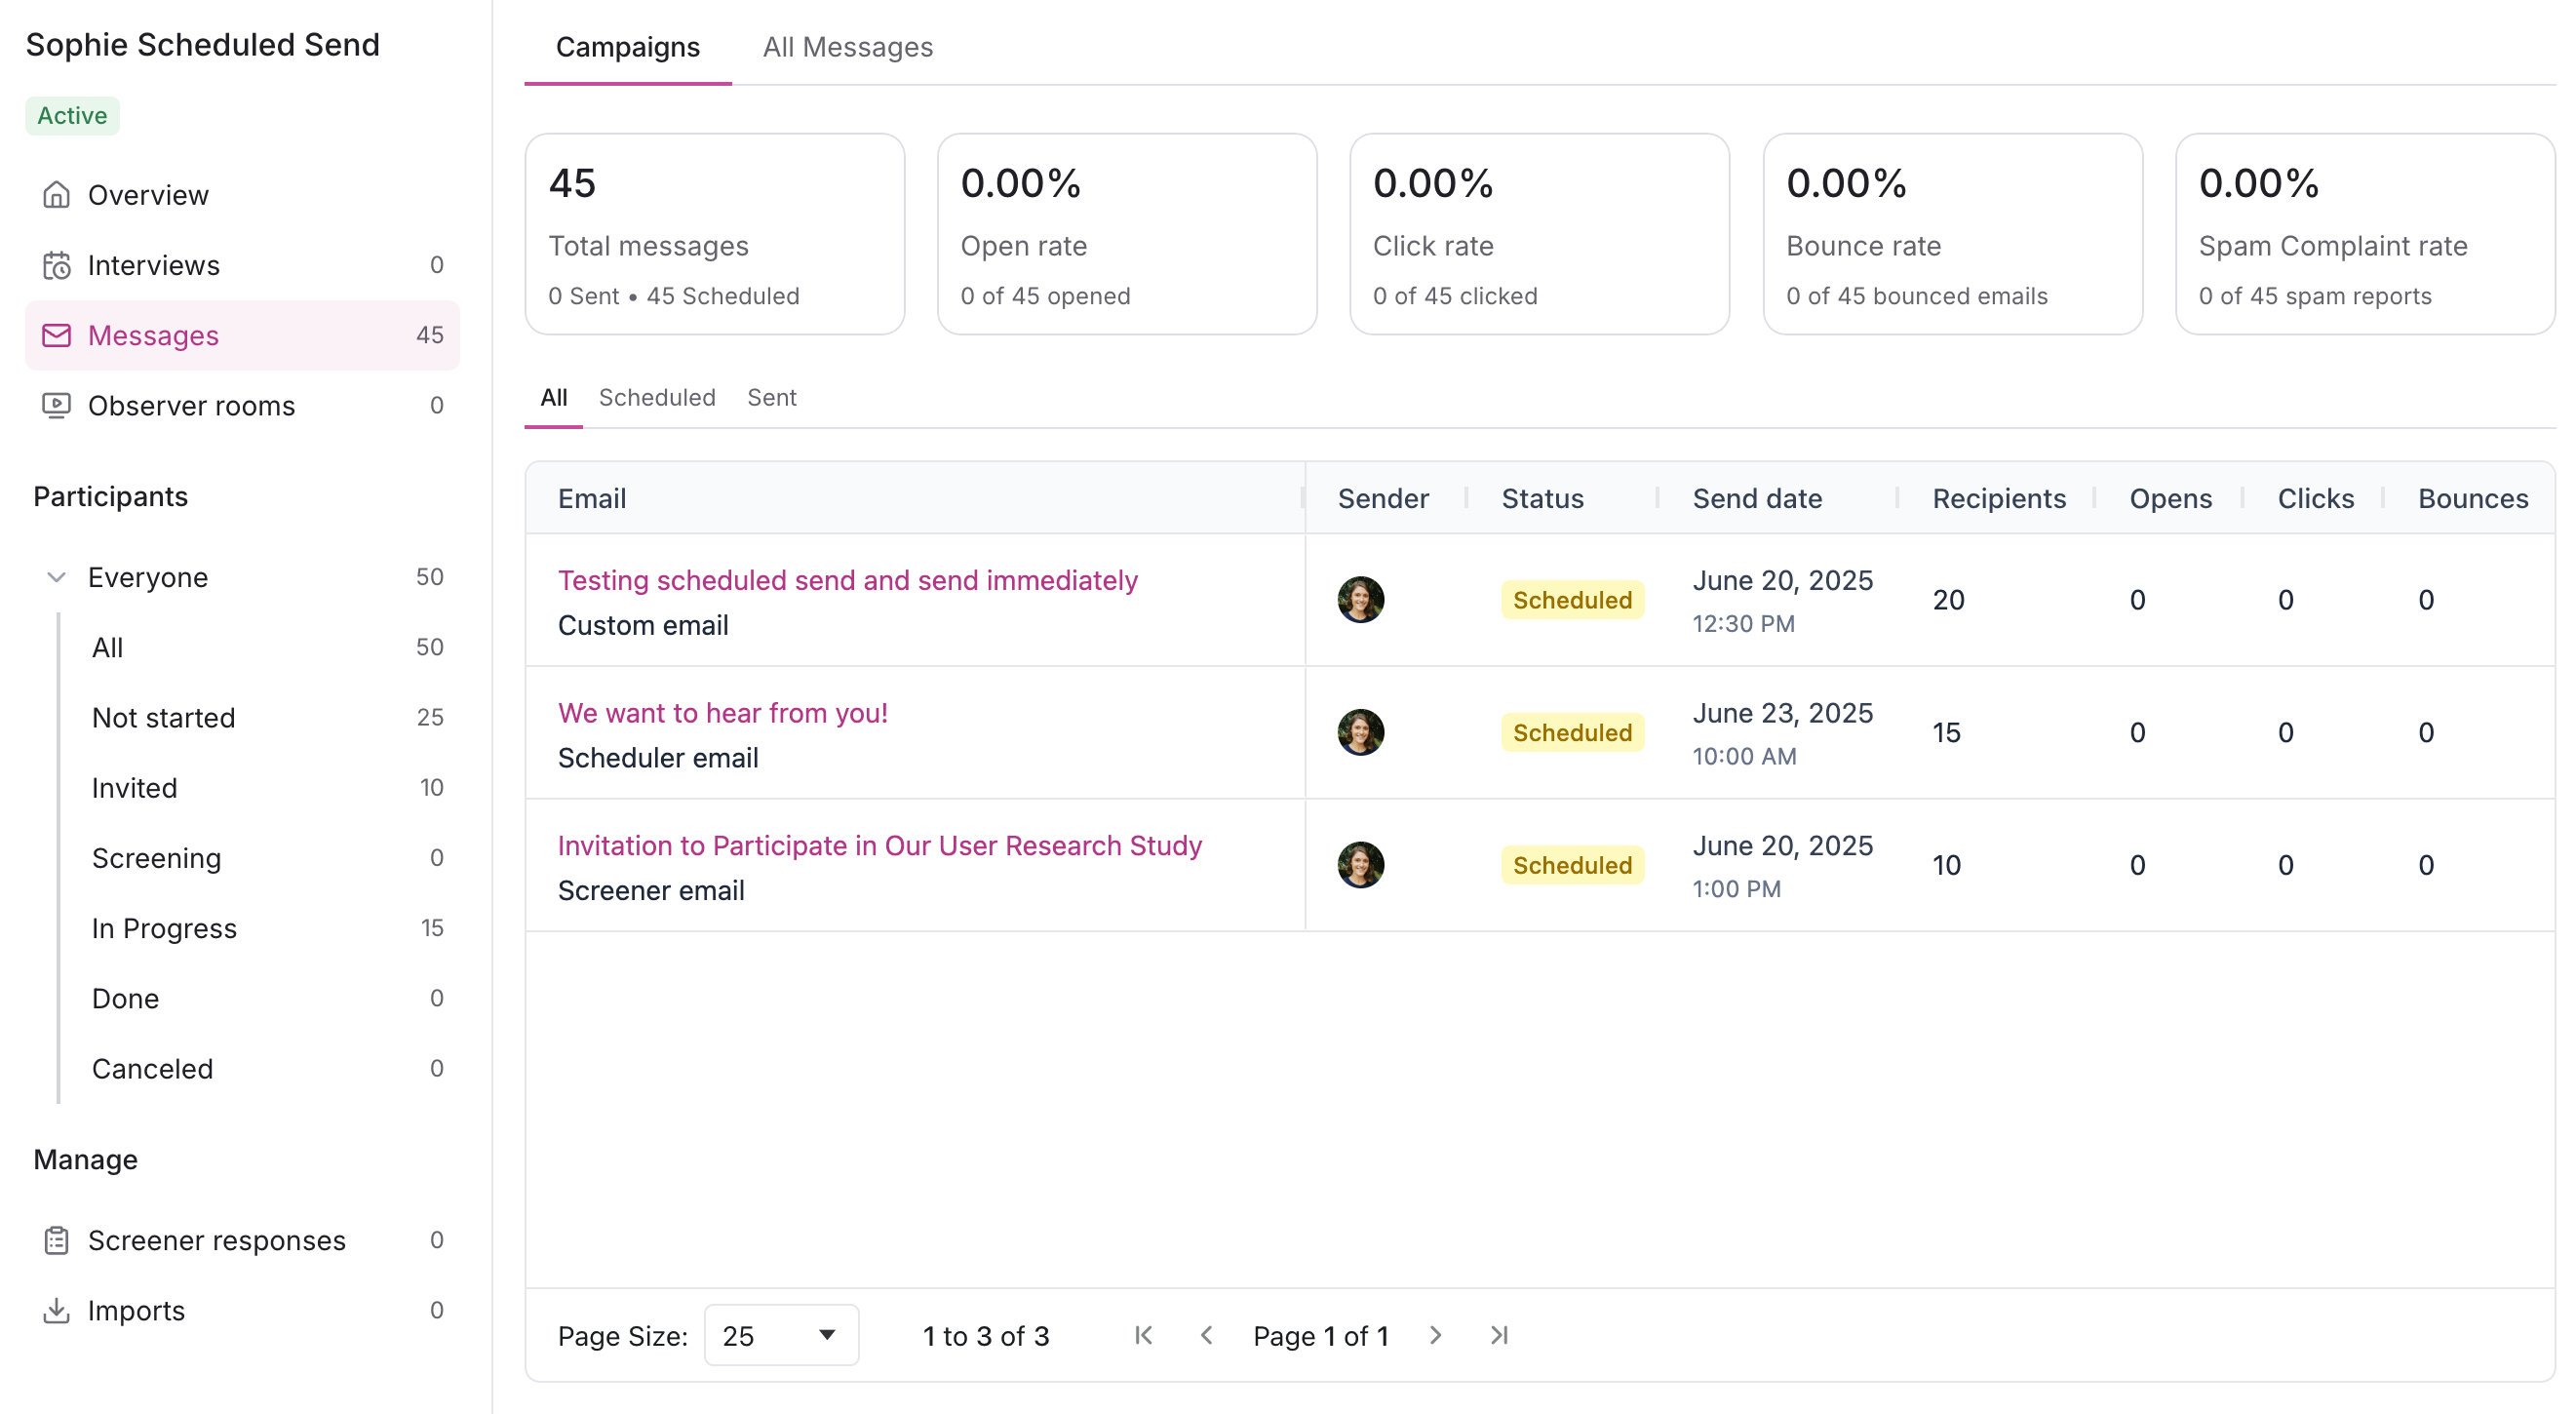
View scheduled emails
Scheduled emails can be found in the Messages page of your study by selecting the Scheduled tab.
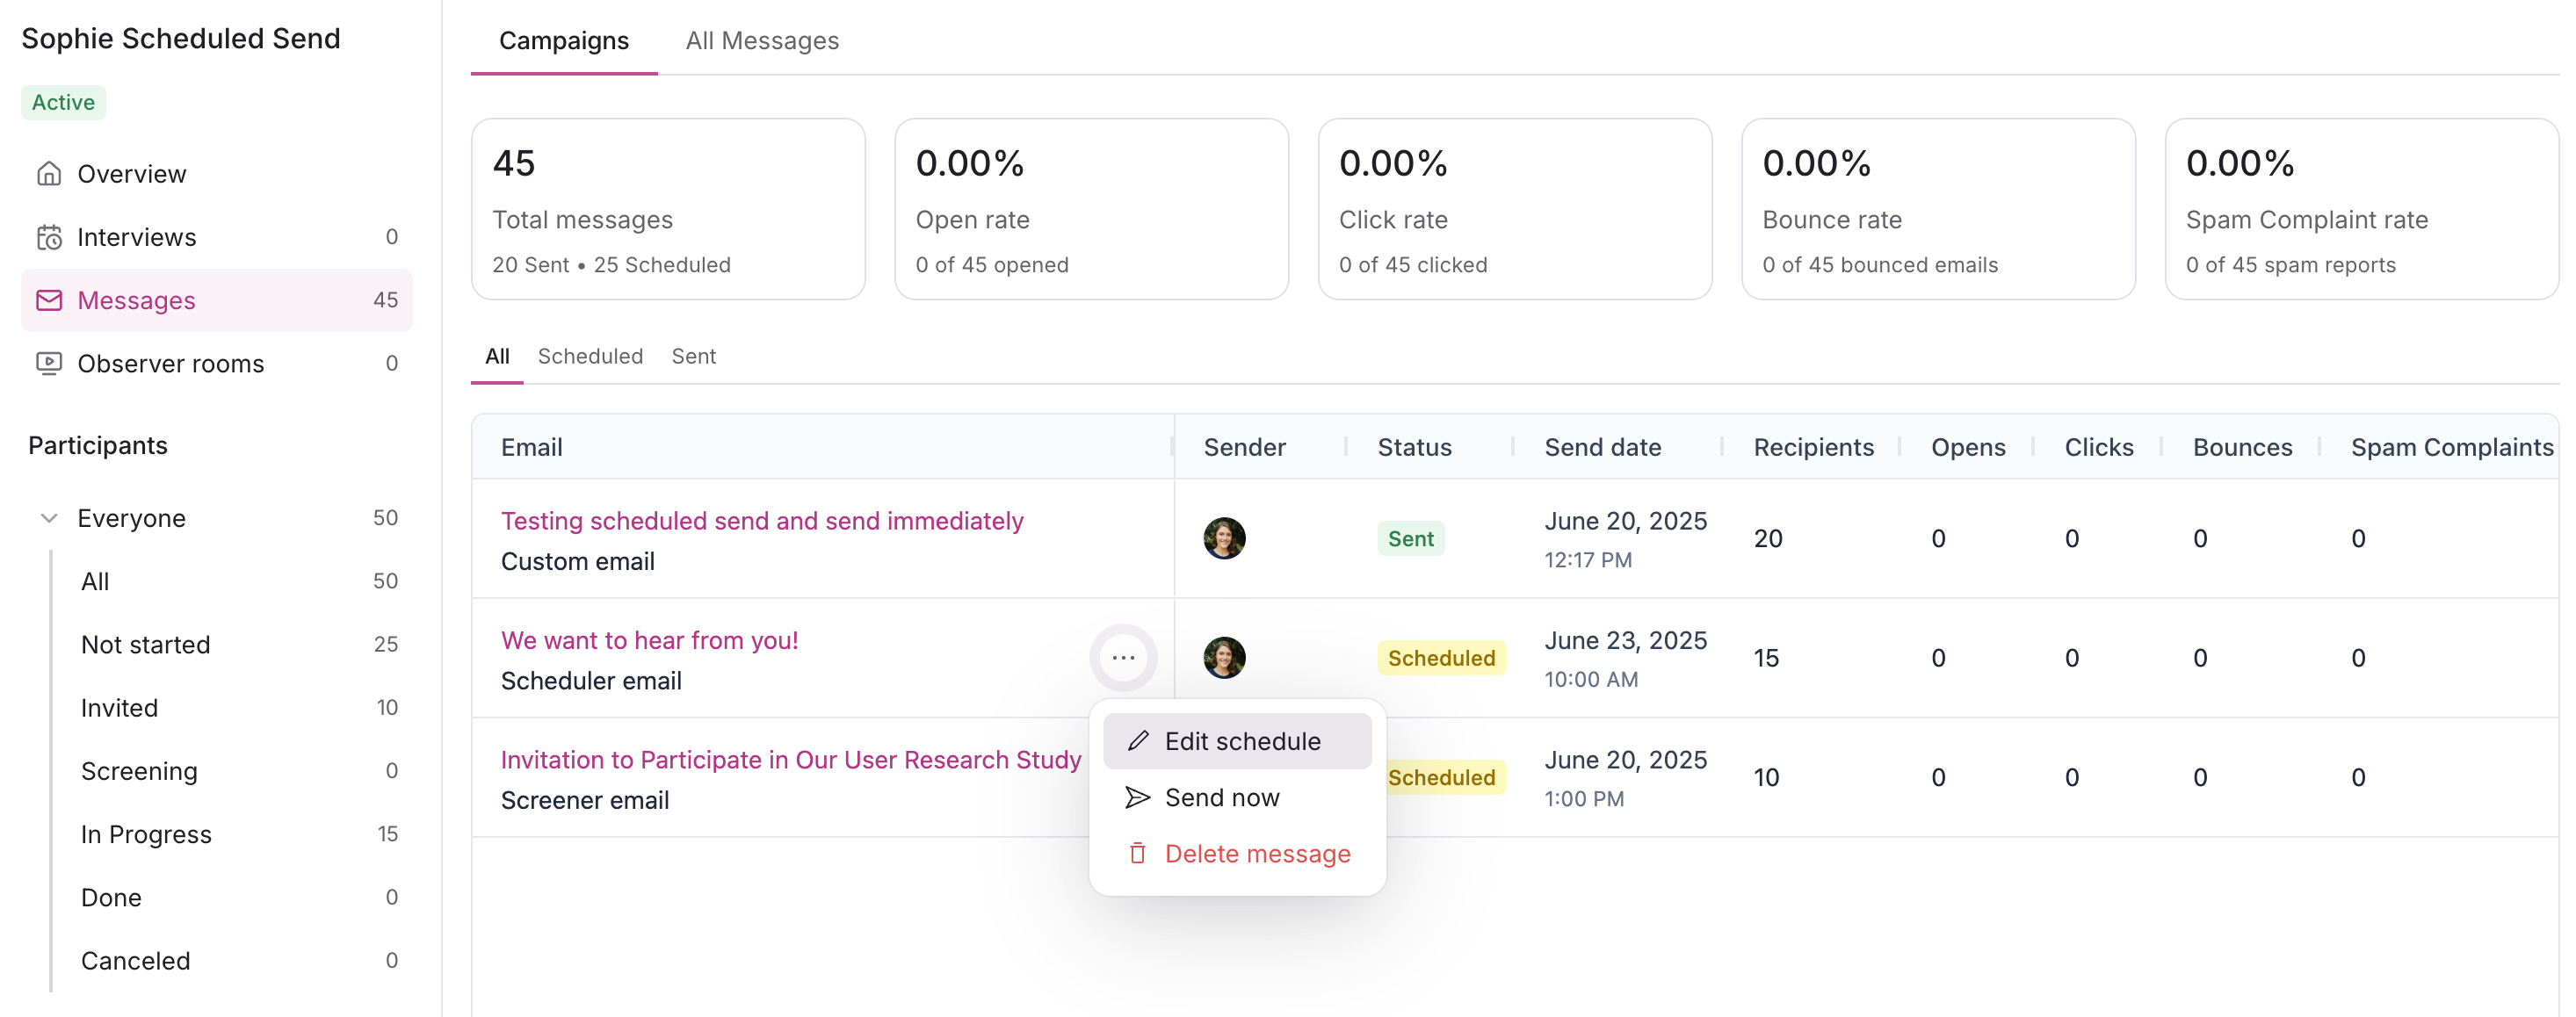
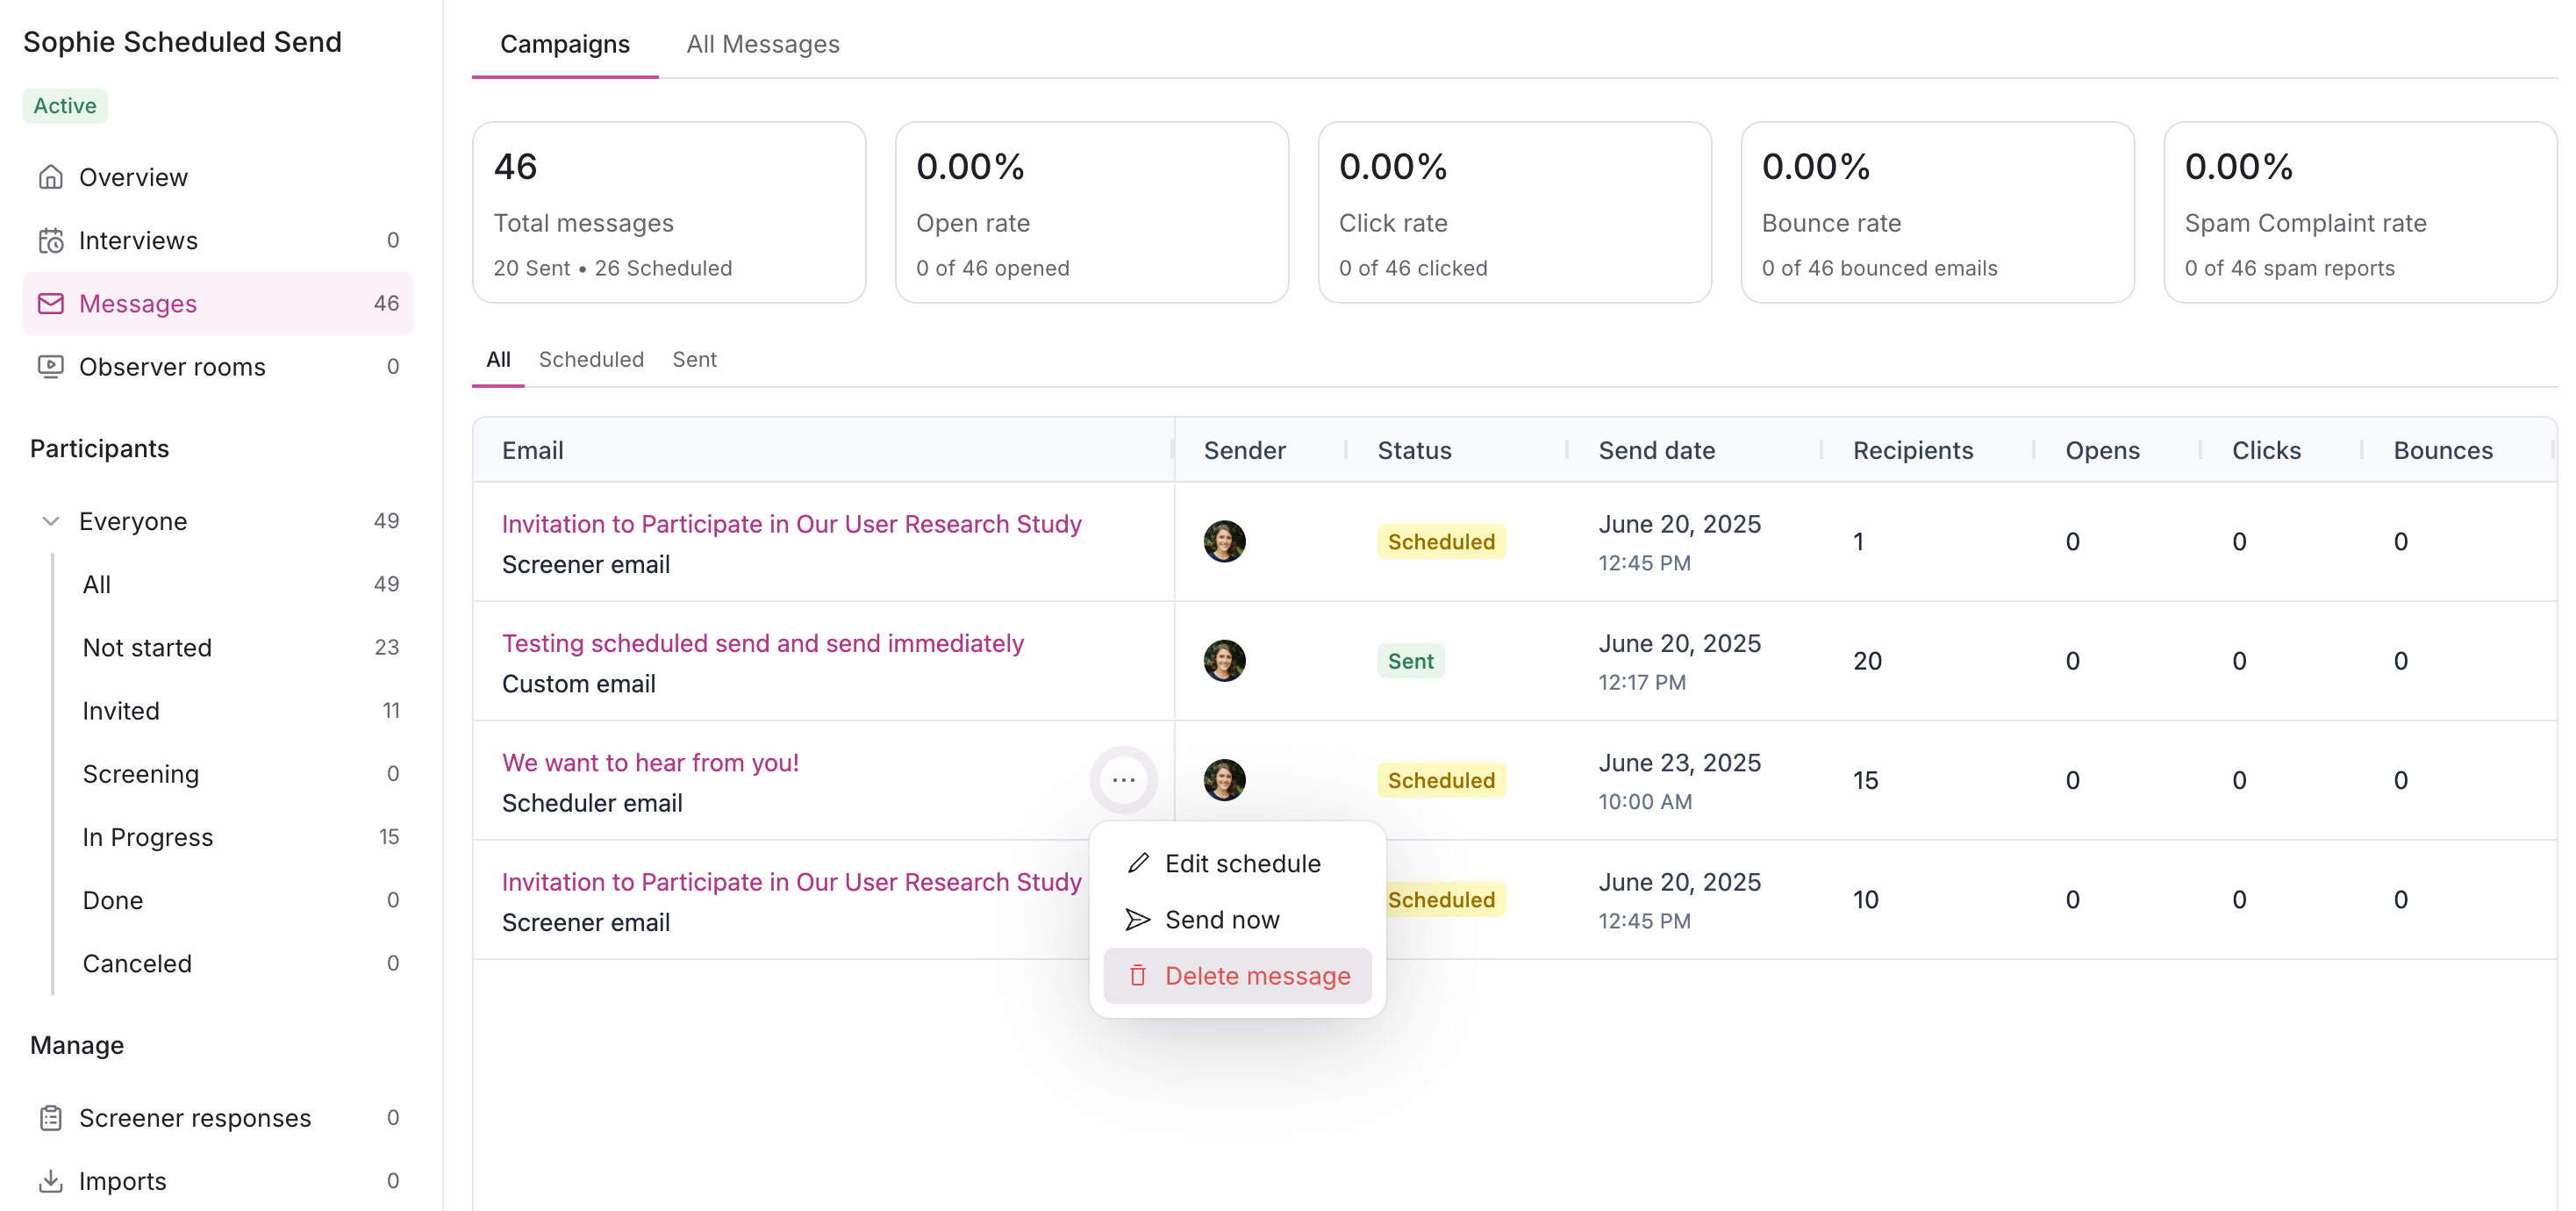
Manage scheduled emails
Manage all scheduled email campaigns to edit schedule, send now, or delete message to cancel scheduled emails before the scheduled send time.
Reschedule
Edit the schedule of planned emails to go out at a different date and/or time.
Navigate to study Messages and select the Scheduled tab.
Select the 3 dots ... next to a scheduled email campaign's subject to select Edit schedule.
Update the date, time, and timezone as desired and select Edit send to confirm.
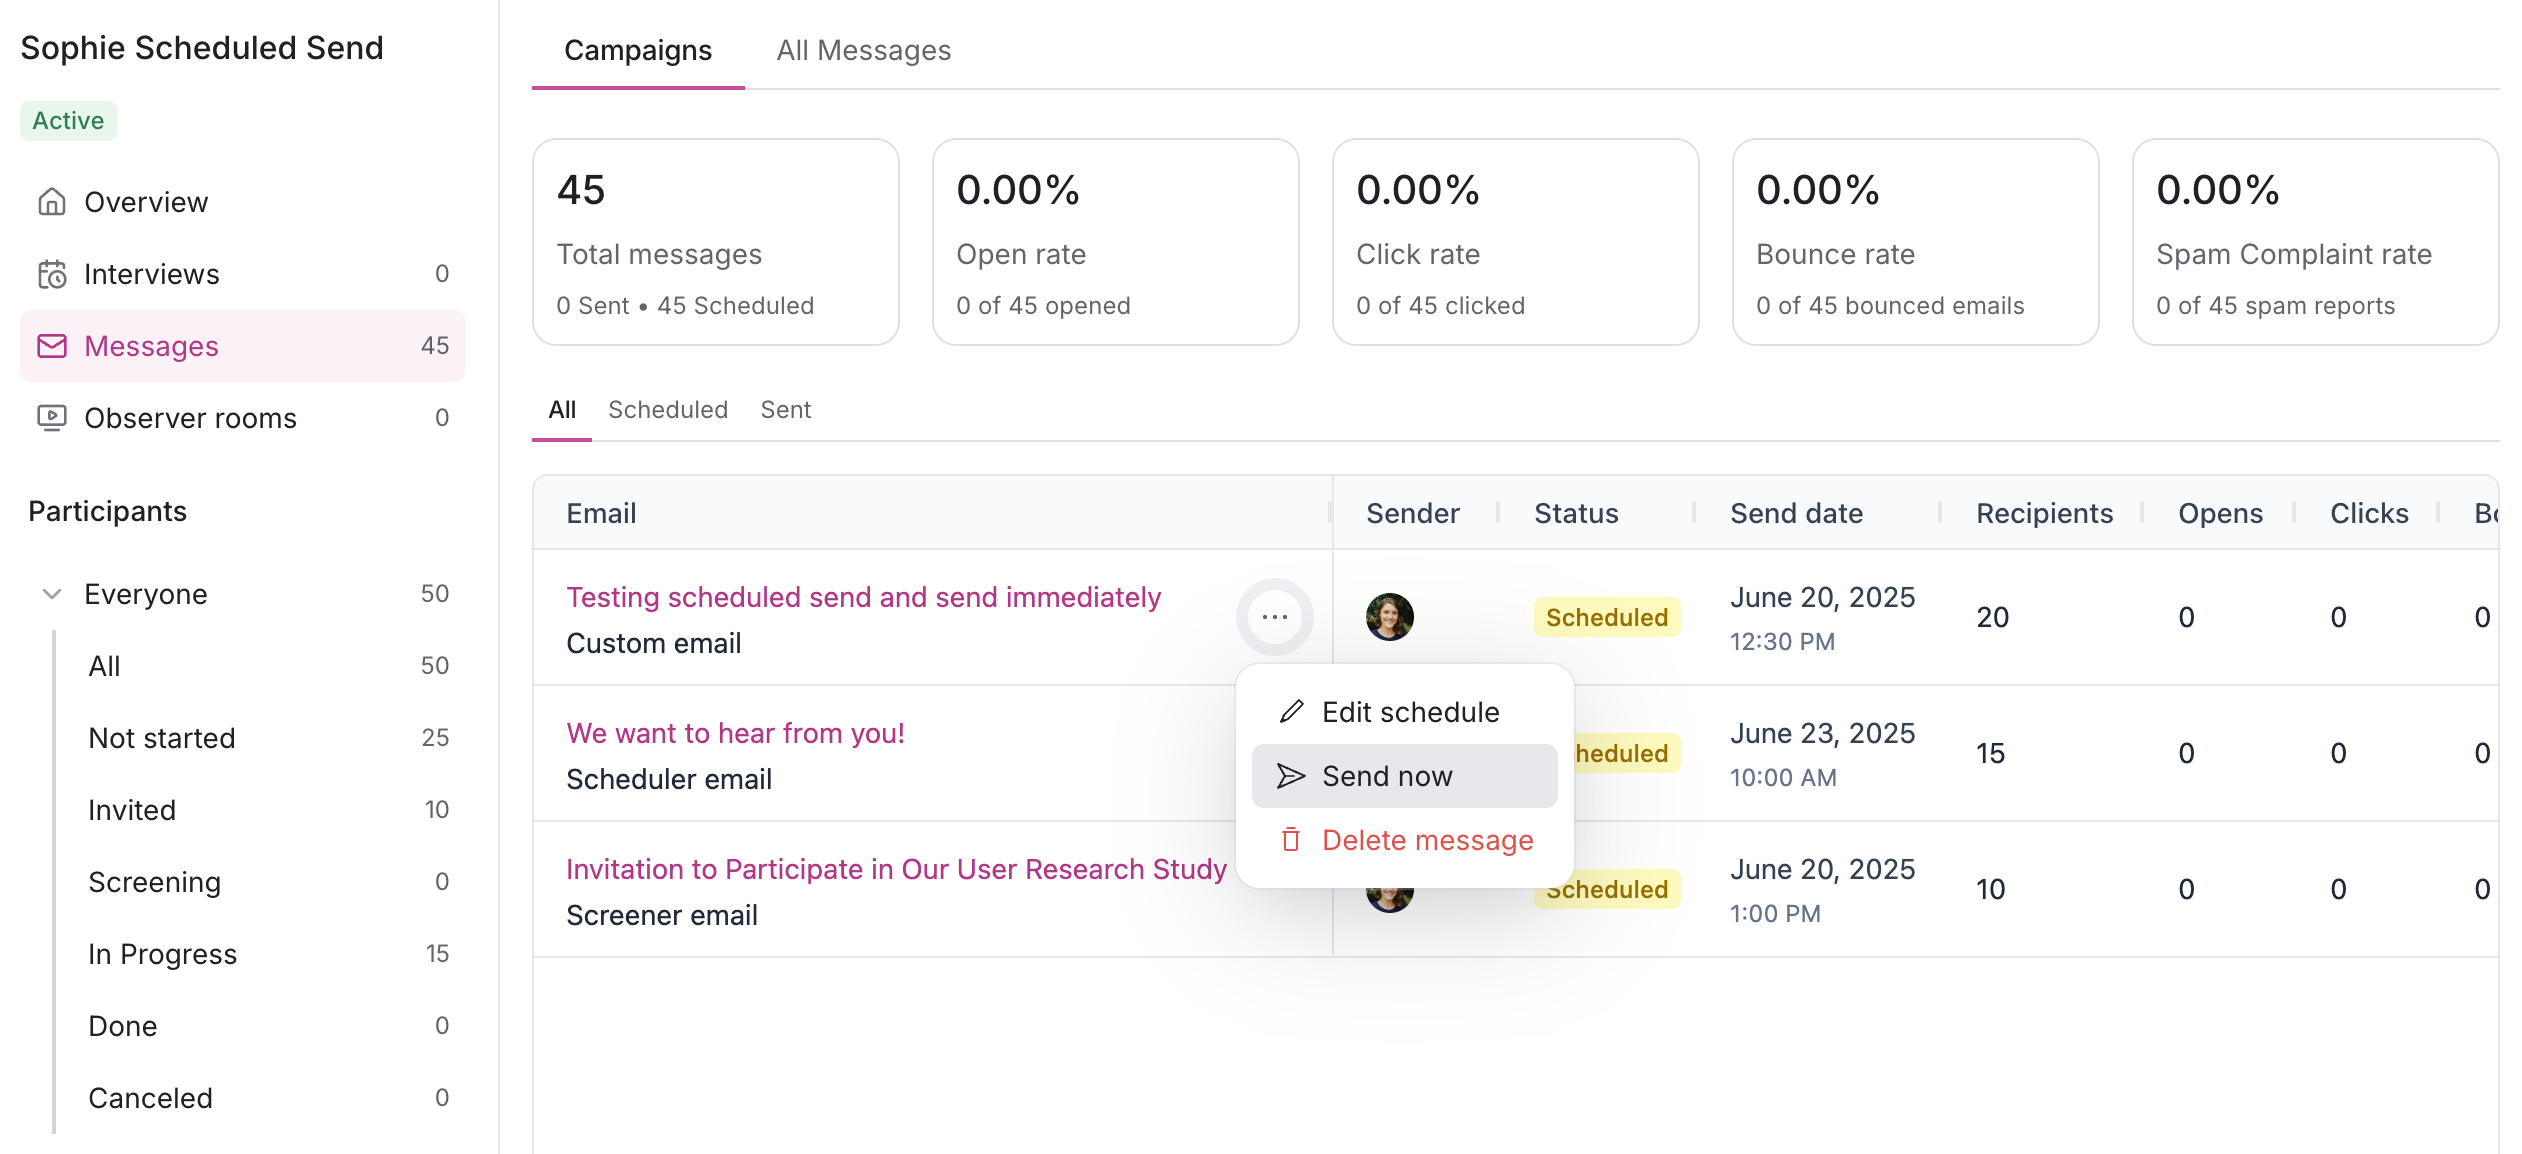
Send now
Immediately send out scheduled emails instead of waiting for the send date.
Navigate to study Messages and select the Scheduled tab.
Select the 3 dots ... next to a scheduled email campaign's subject to select Send now.
Confirm you wish to send this email to # participants immediately with Send now.
Delete scheduled emails
Delete scheduled emails and prevent them from being sent to recipients.
Navigate to study Messages and select the Scheduled tab.
Select the 3 dots ... next to a scheduled email campaign's subject to select Delete message.
Select Delete message again to confirm.