Share and Manage Forms
Last updated: October 23, 2026
View and access forms
Viewing forms requires the "View signup forms" permission (Admin, Ops Manager, Researcher, or Collaborator). Editing forms requires the "Create and modify signup forms" permission (Admin, Ops Manager, or Researcher).
From the main navigation sidebar, select Forms within your team to see all forms assigned to your team, or select Workspace > Forms to view all workspace-wide forms.
Make changes to a form by opening the Actions menu from the form management page, or the overview page within a specific form. Learn more in each section below.
From the form management page, select the three dots (...) on the right to view form actions.
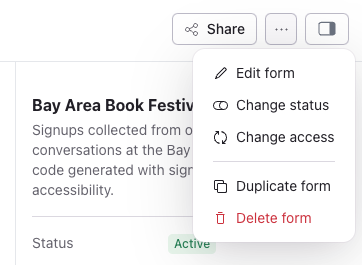
Share a form
Copy your form's unique share link to invite people to sign up:
From the form management page, select the Share button in the top right corner.
Copy the unique link from the popover.
Attach this link to QR codes, emails, social media posts, websites, and more to reach new participants through any channel, or build a list of existing users who are fully opted in to research. Using a separate form per channel (say, one for in-app intercepts and another for LinkedIn) also lets you track which channel is driving sign-ups.
Sharing one form across several channels instead? Add a referral code to the link for each channel. See Track signups with referral codes.
If your form has already been shared and has sign-ups listed, the same Share button is always there in the top right corner whenever you need the link again. Once people start signing up, see Form signups and screener responses to view and manage them.
Edit a form
Select the three dots (...) to open the actions menu.
Select Edit form.
Review and make any edits. Rally will note whether any unsaved edits have been made.
Select Update form in the top right corner to immediately save any changes made.
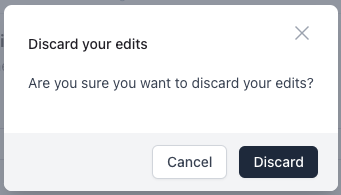
Select Exit in the top left corner to confirm whether to Discard your edits.
If your new Form has not yet been officially created, it will have a Draft status. After opening Edit form, you can finish editing and select Create to get started recruiting.
Changing the name of a Form updates the associated population list name.
Change status
Newly created forms are set to Active. Begin receiving sign-ups by sharing the link. See Share a form above. There is no limit to how many participants can sign up.
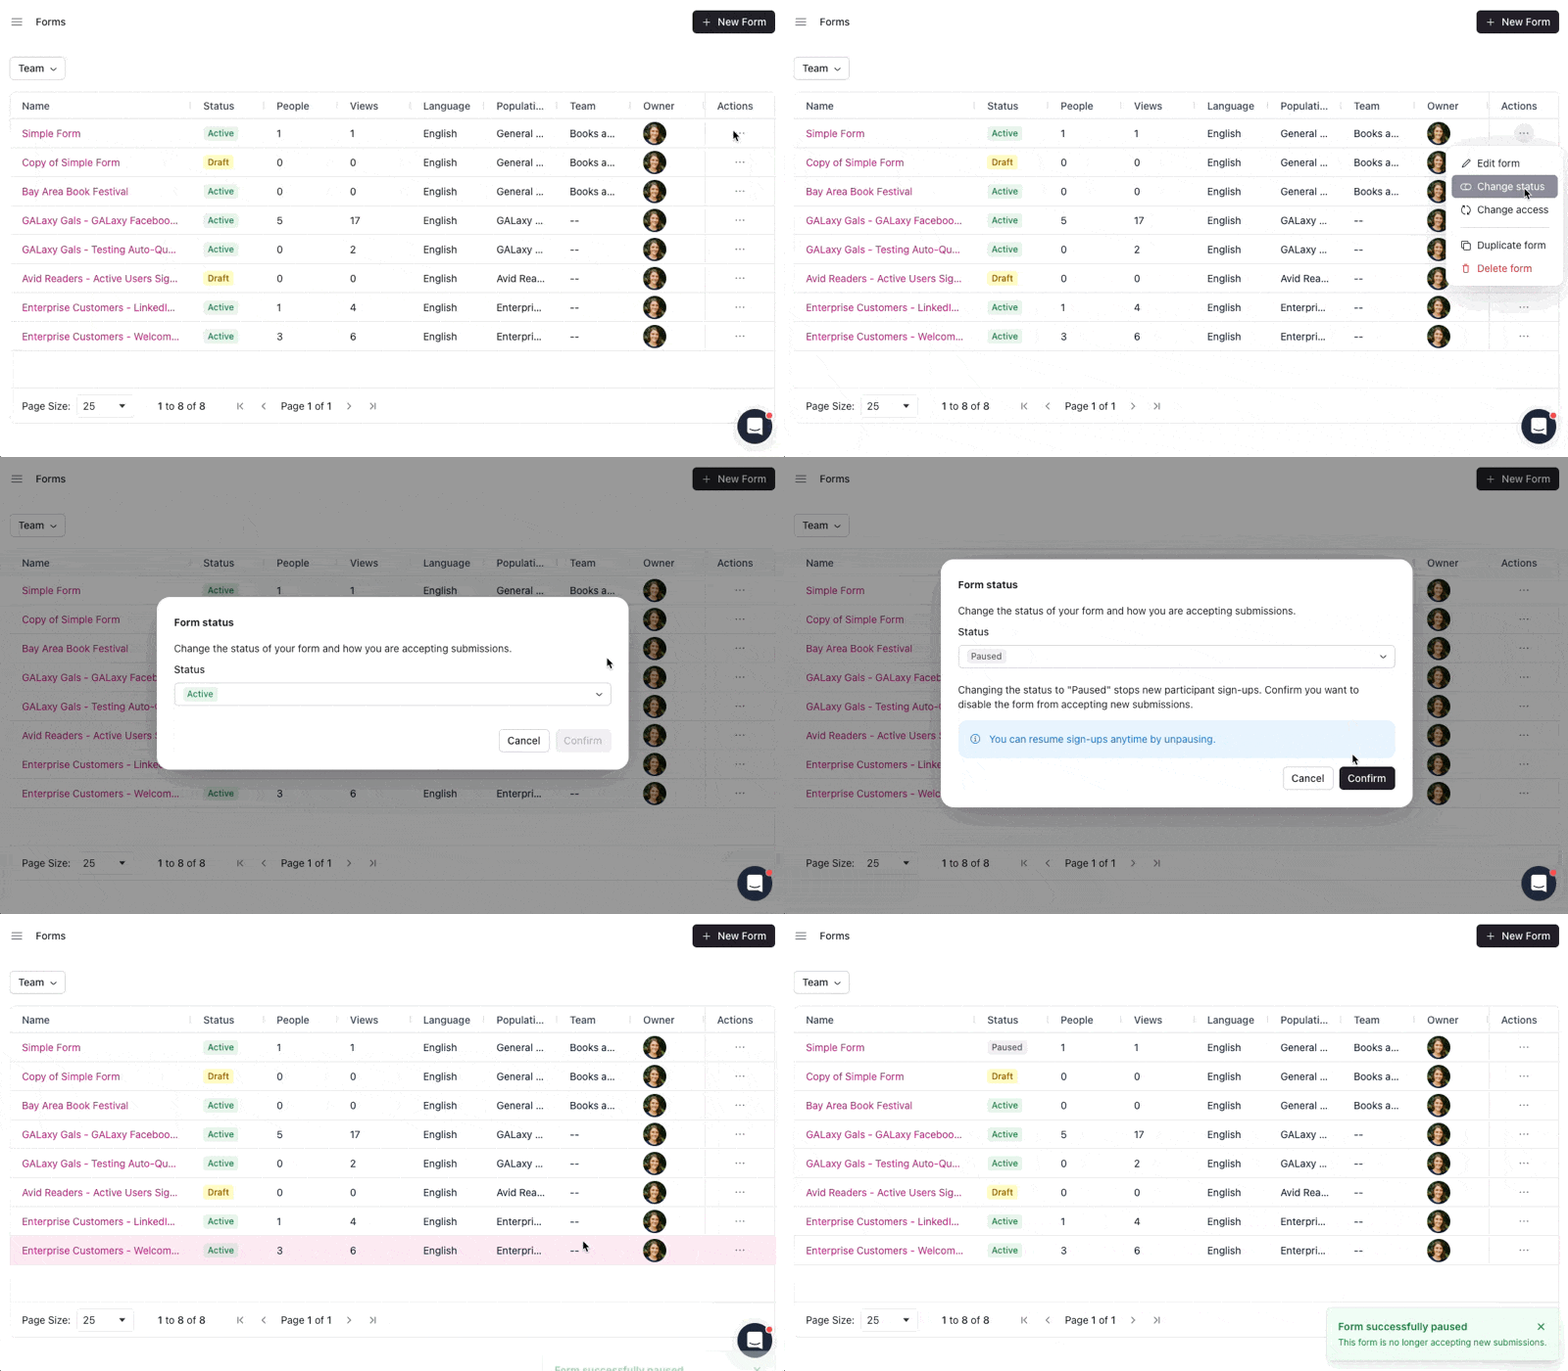
Pause or resume accepting form sign-ups
Stop accepting new signups by changing the status of your form to Paused. This disables the form from accepting new submissions. You can resume sign-ups any time.
Select the three dots (...) to open the actions menu and select Change status.
Change the status to Paused and select Confirm.
Resume accepting signups any time by changing the status back to Active.
Change access
If needed, Admins can change the assigned team that has access to a form. Admins or team admins can also change the population new signups are added to, as needed. Changing the team doesn't require changing the population if the new team has access to the existing population, and vice versa.
Select the three dots (...) to open the actions menu and select Change access.
Select the Team that should have access.
Select the Population that new signups should be added to.
Select Change access to confirm.
When switching a Form to a new Population, we'll create a new list and copy everyone from the current List into it. You'll need to manually remove people from the original list if desired.
Duplicate a form
Testing recruitment success through various channels? Duplicate a form to start with key details and settings prefilled, then customize it for the specific channel being used.
Select the three dots (...) to open the actions menu and select Duplicate form.
Confirm by selecting Duplicate.
Your new duplicated form will be created as a Draft and open to begin editing.
Delete a form
Deleting a form removes all participant sign-up data. The participants themselves stay in your database, but the record of how and when they signed up is gone. To keep that data, pause the form instead of deleting it.
Select the three dots (...) to open the actions menu and select Delete form.
Carefully review the warnings.
Confirm by selecting Delete form.
Deleting a form updates the associated population list's "Created by" value to Form: (deleted). Population lists associated with a form show a "Created by" value of Form: [Form name], with a link to open the form.