Documents
Last updated: January 22, 2026
While Rally provides the option to use Consent Forms, you also have the flexibility to upload your own PDF versions of NDAs or Consent Forms to store and utilize directly in Rally. These documents can then be attached to your Consent Form Templates. This saves you valuable time and ensures your team always uses the correct, legally approved forms for consistency and security.
Upload Documents
Manage documents used for research Participant agreements like Consent Forms and NDAs.
🚨 Uploading and managing Documents requires the "Create and modify document settings" permission. This includes the Rally default roles Admin, Ops Manager, or Researcher.
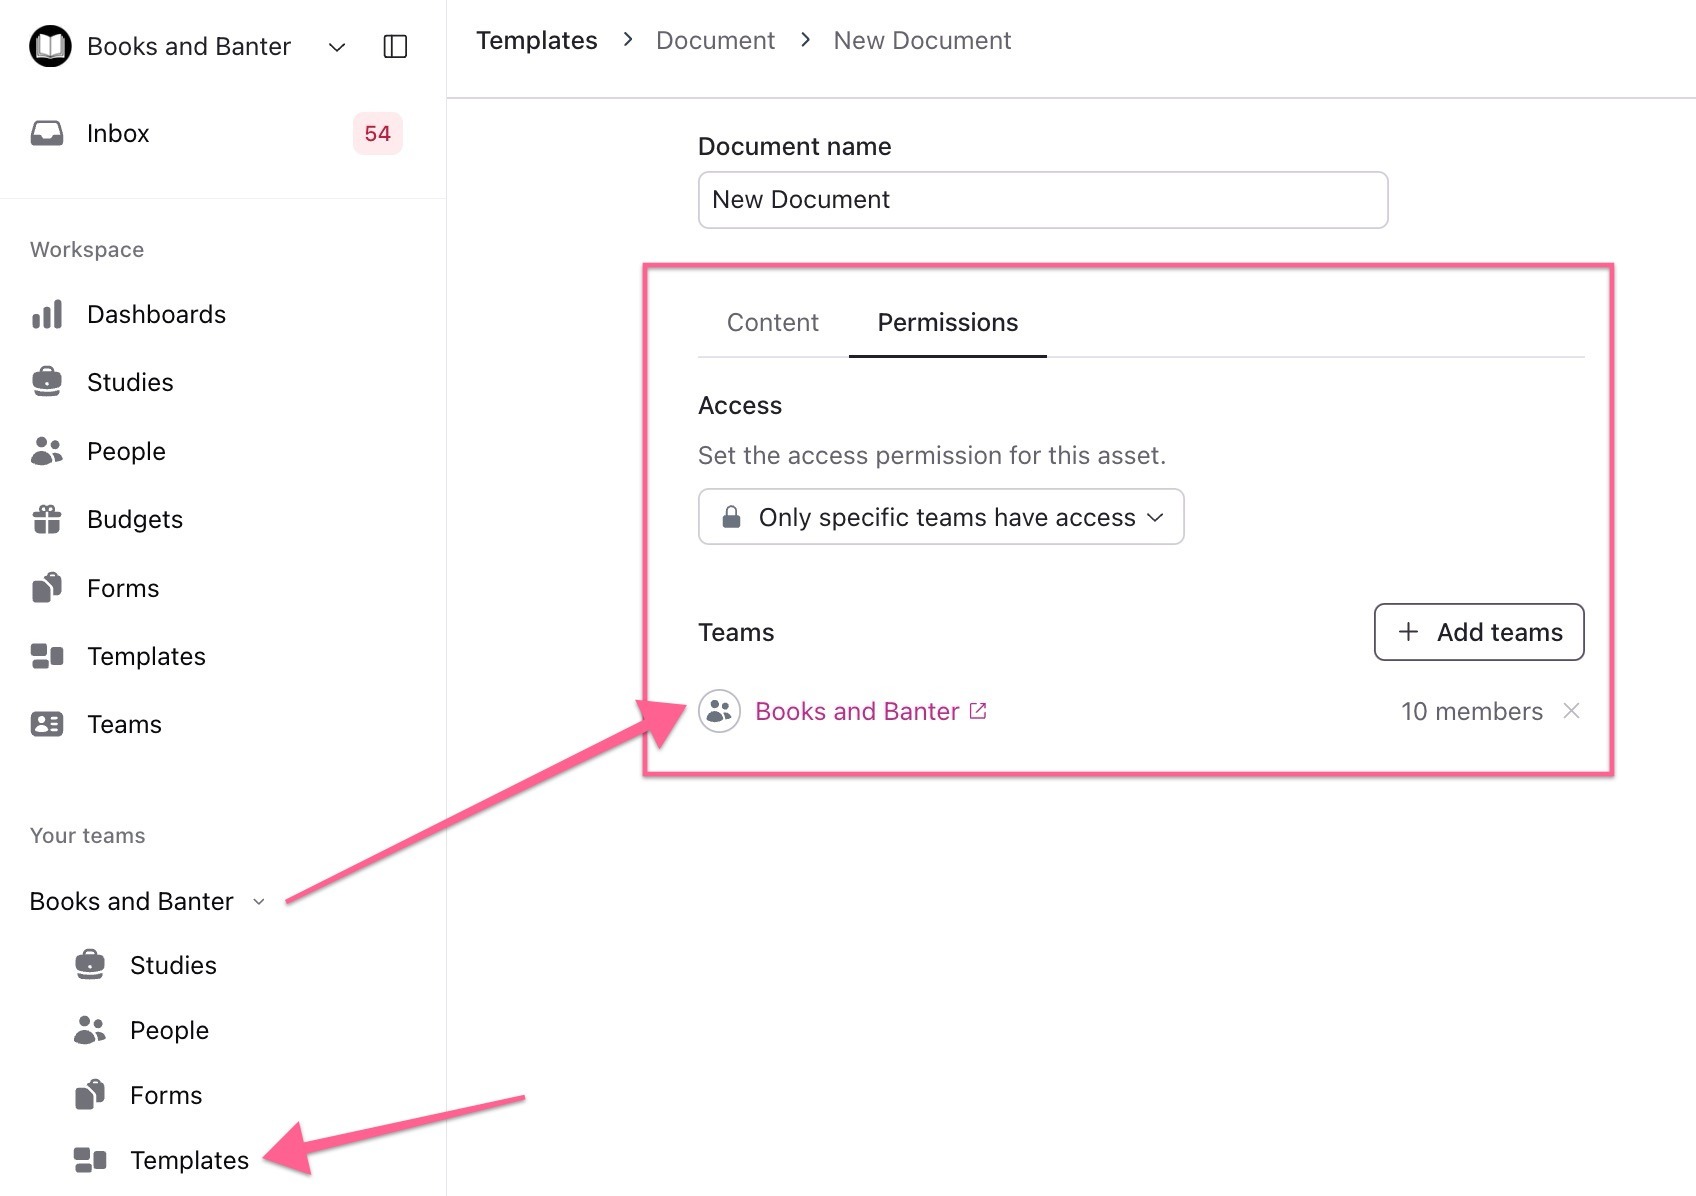
From the navigation sidebar, select Templates.
Select Documents from the tabs at the top to switch between template types.
Select + New in the top right to create a new document by uploading a file.
Provide a clear, concise, and descriptive Document Name.
Select Upload and carefully choose the correct file, then select Open.
Select Save changes.
Permissions Access: Select the Permissions tab at the top to configure which teams have access to view or use this template, or set as Entire workspace has access. Access permissions for new templates are set to "Entire workspace has access" if created from the workspace level Templates page, while those created within a specific team will default template permissions to only that specific team having access. Select the dropdown to edit.
Assign Teams:
From the dropdown, select Only specific teams have access.
With this access setting, at least one team is required.
Select + Add teams.
Select the Team dropdown to search and select existing teams.
Add multiple teams at once by selecting more teams.
Select Add Teams to confirm.
Remove Teams:
Select the x icon to the right of a team to remove their access.
Select Save changes in the top right corner to apply your edits.
After saving your uploaded documents, use them to create custom consent forms ahead of time to quickly add to studies. Rally allows you the flexibility to decide when to capture consent from study participants during the different stages of research invitations and activities.
💡 New documents created within a specific team will default template permissions to only that specific team having access. Edit access as needed.
Manage Documents
Manage documents via the Templates > Documents tab.
Edit Documents
Select the name of a document to open it and begin editing. Upload a new file or select the Permissions tab to change which teams have access to it. Save changes to apply.
Delete Documents
Select the checkboxes next to any documents and select the Delete button at the top of the table, then confirm you would like to Delete in the pop-up.